Archives

Chocolate Covered Strawberry Ladybug Cookies

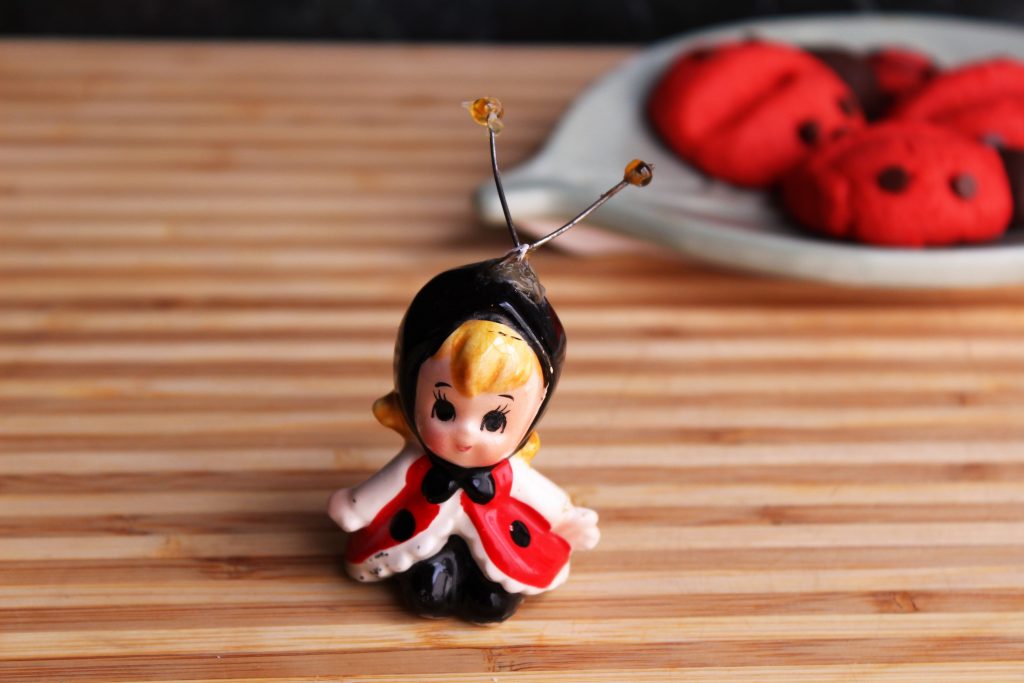
I promised you more spring treats, so here you go! As some of you may know, and many of you probably don’t, I have adored ladybugs my whole life. I have collected ladybugs in any form for as long as I can remember. And I have to tell you, most of the year there aren’t many ladybugs to be found in the stores. My sister collected pandas, and you could find those almost anywhere. I’ve known people who collect pigs or roosters – also pretty easy to find. Ladybugs – not so much. Around Valentine’s Day and Easter you see a few more around, but even then they are pretty scarce. Even so, I have amassed a pretty impressive collection, if I do say so myself. Towels, jewelry, wall art, soap dishes (that one in the picture above – I use it for a spoon rest on my stove!), toys, figurines, etc., etc. But I’m pretty sure it all started with this lovely lady right here.

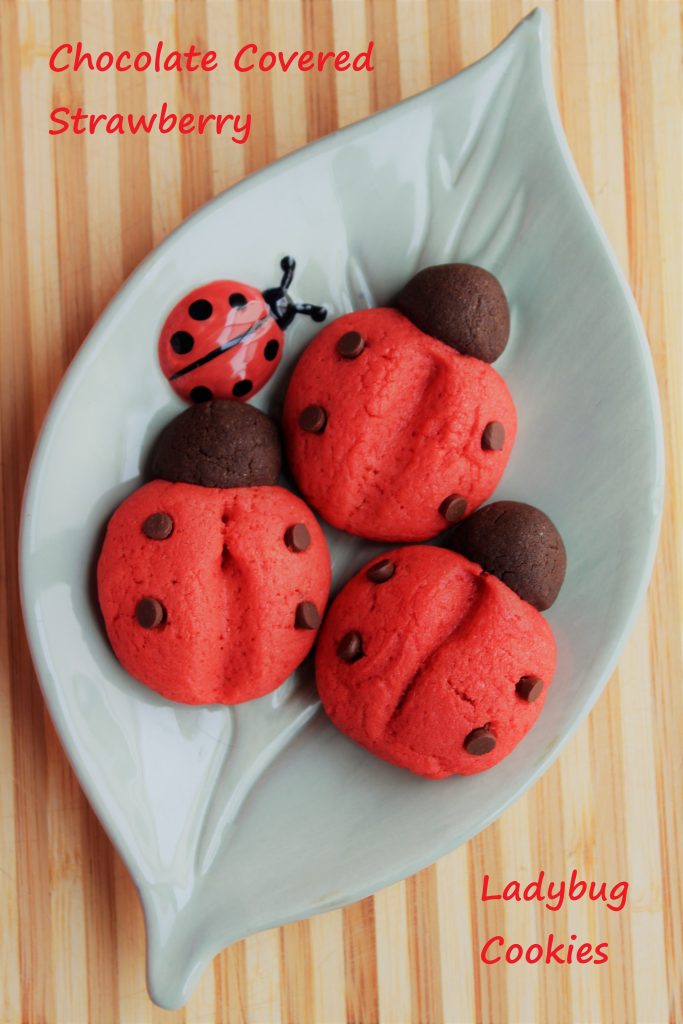
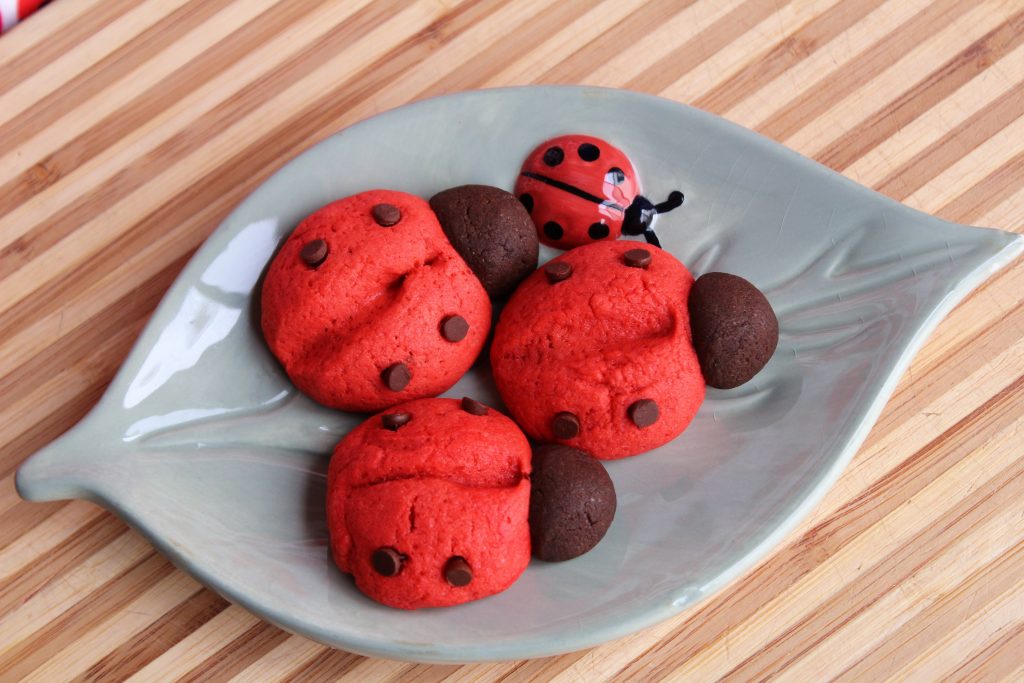
These cookies are an adaptation of a cookie we started making when I was pretty young. My mom had saved a pull-out section of a Good Housekeeping magazine from the 1980s. It was a special Christmas cookie section for “Christmas Toy Cookies”. One of the recipes was for a ladybug cookie. What that has to do with Christmas or toys, I don’t really know. But I do know I loved making and eating those cookies. The original recipe was for a vanilla cookie with maraschino cherry, or red hots, spots. I decided to go more true-to-life, and make a red body with chocolate chip spots. And if I was going to add color, I figured I might as well add flavor!

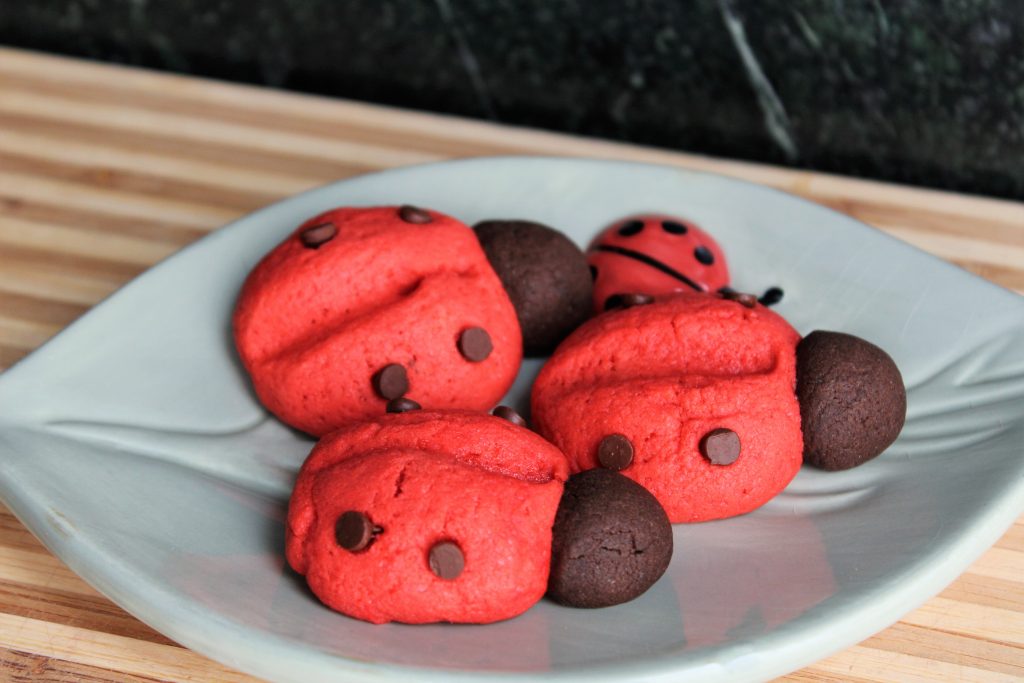
The recipe as I have written it adds strawberry flavoring, which I’m sure many of you will enjoy. I, on the other hand, do not like strawberries. I know, I know. I told you I was a picky eater. I did have a bottle of pomegranate flavoring in my cabinet, begging to be used, though, and this seemed like the perfect opportunity. You can use either of those flavors, or go with cherry or raspberry. Ooohh, or cinnamon….that would be fantastic, too. You could even leave the flavoring, and the color, out if you wanted to. This is a soft, slightly cakey cookie full of flavor. And they are pretty darn cute, too. 🙂


Print Recipe
Chocolate Covered Strawberry Ladybug Cookies
Servings
cookies
Ingredients
Servings
cookies
Ingredients
Instructions
  1. Cream butter and sugar until light and fluffy. Mix in eggs.
  2. Add salt, baking soda, and flour; mix well.
  3. Remove 1/4 cup of the dough, and stir the melted chocolate into that portion.
  4. Add the extract and food color to the plain dough. I used enough food color to make a bright red, but adjust to your tastes.
  5. Divide the red dough into 36 pieces, each approximately 1 to 1 1/2 tablespoons. Shape each piece into an oval and place onto ungreased cookie sheets.
  6. Divide the chocolate dough into 36 pieces, about 1/2 teaspoon each, and push into one end of each oval.
  7. Use the back of a butter knife to make a deep line down the center of each cookie, to define the "wings".
  8. Push mini chocolate chips into each wing. I use 2 or 3 per side, but use as many as you'd like.
  9. Bake at 350 degrees F for 12 to 15 minutes, or until cookies are set. If you don't use the food coloring, there will be very light browning, but you cannot see this on the red cookies.
  10. Cool completely on wire racks and store in an airtight container up to a week.
Recipe Notes

Use any flavor extract, and food coloring, you like. Raspberry, cherry, pomegranate (like I did), even cinnamon would be good if you want to keep them red. Or leave out the extract (use some vanilla),  and food coloring if you prefer.

I used flavoring oil, from LorAnn, which is much more concentrated. If you use those, start with 1/4 teaspoon and slowly add from there. I used about 1/2 teaspoon of the pomegranate flavor.

For an extra hit of chocolate, dip the bottom of cooled cookies into melted dark or milk chocolate and set on waxed paper until chocolate sets.

Share this Recipe

Mardi Gras Cookies, and Let’s Talk about Archaeology

Hi everyone! I’ve been kind of under the weather this week, so I decided to make a pretty simple cookie. They take almost no time to put together, they are delicious, and you can totally customize the colors to suit any occasion.

Since it’s a short and sweet recipe, I thought now would be the perfect time to talk a little about archaeology, and to show you some pictures from past projects I’ve been on. If you’re just here for the recipe, go ahead and scroll down to the bottom of the post – I won’t be offended. 🙂

For those of you who are interested in my “other” job, let’s run through a quick FAQ.

First, What is archaeology? Well, the biggest misconception is that archaeologists dig up dinosaurs. In fact, paleontologists deal with dinosaurs, while archaeologists deal with the human past. Specifically, the material remains left by humans. This includes everything from arrowheads and other stone tools to foundation remnants and broken plates and glasses.

Second, Why do archaeologists do what they do? There are a lot of ways to interpret this question, but here I am getting at the reason my job exists. Because of the Historic Preservation Act of 1966, and specifically Section 106, all federally funded or permitted projects have to undergo a historic and archaeological review to determine the impact that the project will have on any historic sites. That means if federal funds or permits are involved, archaeologists and/or historians have to survey the area to be impacted to determine if there are significant historic or archaeological sites that may be impacted. If there are, the project is either re-routed, or the site is excavated to retrieve any data possible.

So, finally, What do I actually do? The vast majority of the fieldwork that I do involves archaeological survey. In other words, I am out walking across the project area. In plowed fields, we simply look for artifacts that have been brought to the surface by the plowing. In pastures and other where the ground surface isn’t visible, we dig small holes at regular intervals, and pass the dirt through a mesh screen to look for artifacts. When we find artifacts or structure remnants like foundations, we record the site and report it’s location and any information we can gather to the state. If the state determines the site may be significant, we may have to return to do further testing on the site, and perhaps even full excavation, but this is rare. Many sites are not considered significant, that is, they won’t provide us new or important information. And those that are, or may be, or often avoided by the project by a re-route.

Ok. I’m sure I’ve bored you completely by now. 🙂  But now, its time for cookies. These really couldn’t be more simple. It’s a quick and easy dough to put together. Then you divide the dough in half, roll each half into a rectangle, and add sprinkles. Roll it up, chill it, slice it, and bake it. And like I said earlier, if you’re not celebrating Mardi Gras, or want to use the recipe for a different celebration, you can just change up the sprinkles. Think red, white, and blue for July 4th…or red and green for Christmas…or brown, yellow, and orange for the fall…or school colors for graduation. I could go on and on with all the ideas I have for this, but I’m sure you’ve got ideas too, so I’ll just give you the recipe so you can get baking!


Print Recipe
Mardi Gras Cookies
Course Dessert
Servings
cookies
Course Dessert
Servings
cookies
Instructions
  1. Cream butter and sugar with an electric mixer until light and fluffy.
  2. Add egg and vanilla, and mix well.
  3. Add salt and flour, and mix until combined.
  4. Divide dough in half. Place one half onto a lightly floured piece of waxed paper. Dust lightly with flour and cover with another piece of waxed paper. (Or chill until firm enough to roll without sticking to the rolling pin.)
  5. Roll into a 12-inch by 8-inch rectangle, about 1/8-inch thick.
  6. Using one color of sprinkles at a time, coat the dough with a long "stripe" of sprinkles, covering about a third of the rectangle. Repeat with the remaining colors, lined up next to each other.
  7. Roll the dough up tightly, starting from the long end.
  8. Wrap the dough cylinder in the waxed paper and refrigerate 1 hour, or freeze 15-20 minutes.
  9. Repeat with remaining half of dough.
  10. Remove waxed paper, and slice dough into 1/4-inch slices. Place on Silpat or parchment-lined baking sheet.
  11. Bake at 350 degress F for 15-20 minutes or until lightly browned.
  12. Remove from baking sheet to cool completely. Store in airtight container up to one week.
Recipe Notes

Change the sprinkle colors to suit the celebration. For example, red, white, and blue for July 4th. Red and green for Christmas. School colors for a graduation, etc.

Share this Recipe