Archives

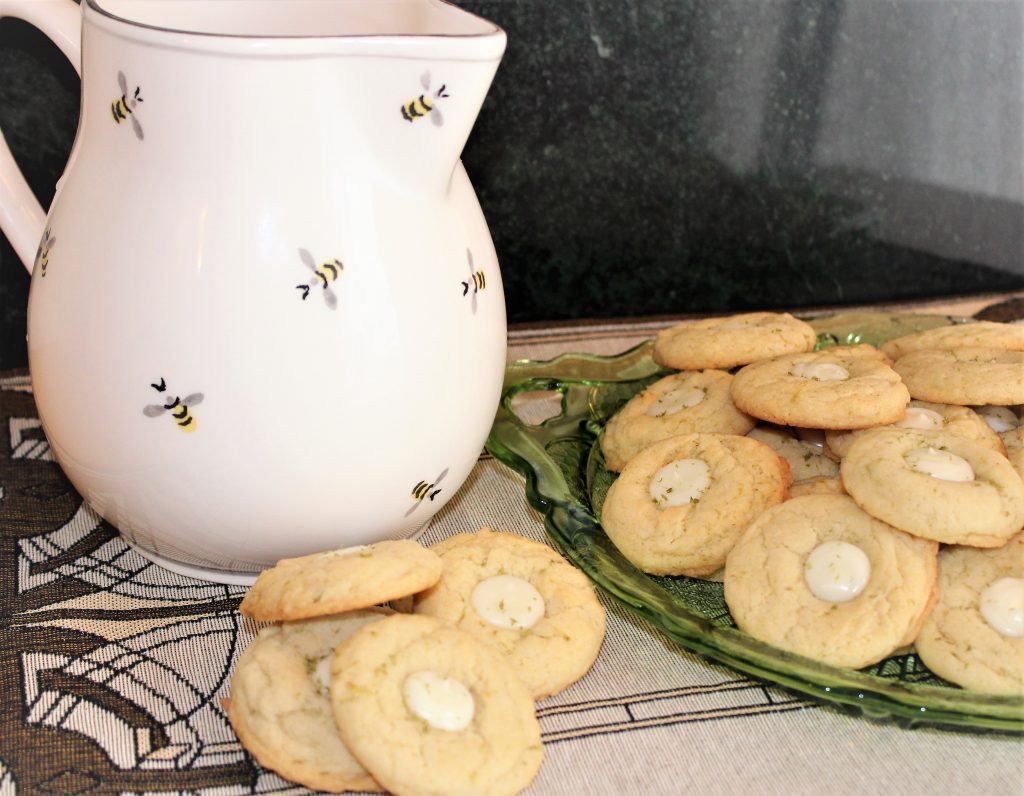
Ginger-Lime Thumbprint Cookies

The first time I made a cookie similar to this was while I was on a project and living in a hotel room. I was baking for the crew almost every weekend, but since I was in a hotel and cooking in a toaster oven with only a few tools, I tried to use shortcuts where I could. I was looking for ways to easily dress up a cookie mix when I stumbled upon a recipe for ginger-lime sugar cookies and decided that could work. I just mixed up the mix and added lime zest and fresh ginger. I stirred in some white chocolate chips and baked them up. Everyone went crazy for them!
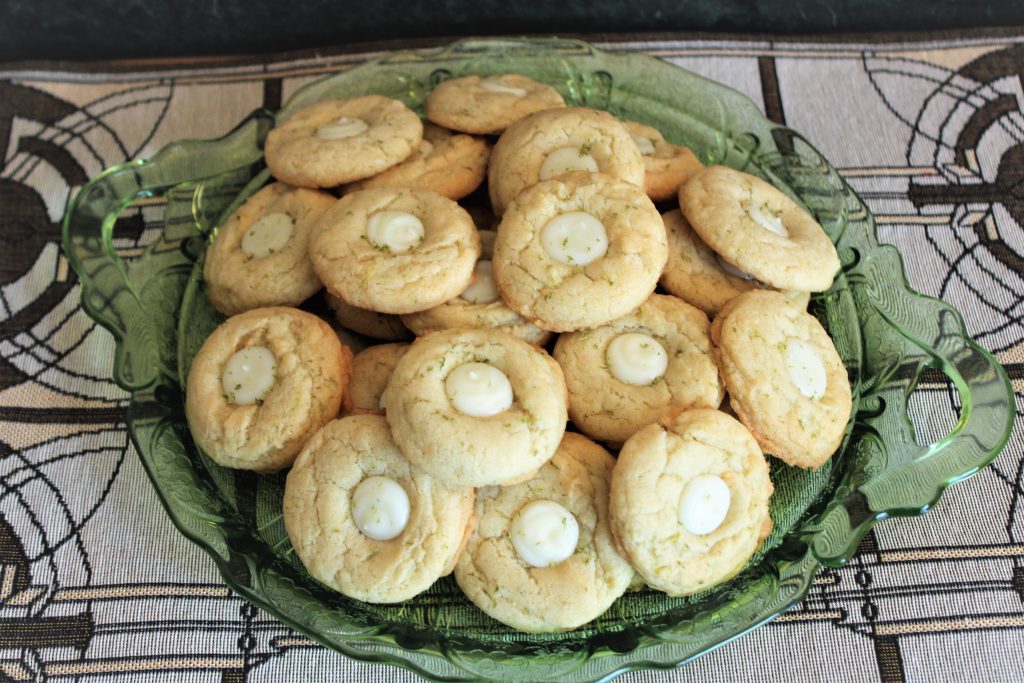
I fell in love with the ginger-lime combination at that point, and I have made similar cookies many times since. I wanted to dress them up a little for you, though, so I turned them into thumbprint cookies!  These are soft, chewy cookies that actually stay soft and chewy for up to a week. For the filling, I use vanilla almond bark because I prefer it over actual white chocolate. You can use whichever you prefer or have on hand. These have a tropical vibe to them, so I think a sprinkle of toasted coconut or toasted macadamia nuts would be perfect. You could either sprinkle some on top of the ganache before it sets, or go all out and roll the cookie dough in them before baking!

Print Recipe
Ginger-Lime Thumbprint Cookies
Servings
dozen
Ingredients
Servings
dozen
Ingredients
Instructions
  1. Melt butter.
  2. While still warm, add cubed cream cheese, sugar, and oil. Whisk until combined and cream cheese is mostly melted.
  3. Add lime, ginger, and egg and mix well.
  4. Stir in flour, baking soda, baking powder, and salt until a smooth dough is formed.
  5. Refrigerate dough for at least 30 minutes or up to several hours.
  6. Scoop dough, using a 1 1/2 tablespoon scoop, onto a parchment or silicone lined cookie sheet.
  7. Bake at 350 degrees F for 8 to 10 minutes, or until lightly golden brown around the edges.
  8. As soon as the cookies come out of the oven, press an indentation in the middle with a small (1/2 teaspoon) measuring spoon.
  9. Cool 5 minutes, then move to a cooling rack to cool completely.
  10. Once cookies are baked, make the ganache by combining almond bark with heavy cream in a microwave safe bowl.
  11. Microwave 30 seconds at a time, stirring after each. Continue until chocolate is completely melted and mixture is smooth.
  12. Spoon, or pipe with a piping or plastic bag, the ganache into the indents in the cookies. Let set until firm, about 1 hour.
  13. Sprinkle with additional lime zest if desired.
Recipe Notes
  • Sprinkle with toasted coconut or toasted, chopped macadamia nuts before the ganache sets.
  • Roll the cookie dough in coconut or chopped macadamia nuts before baking.
Share this Recipe

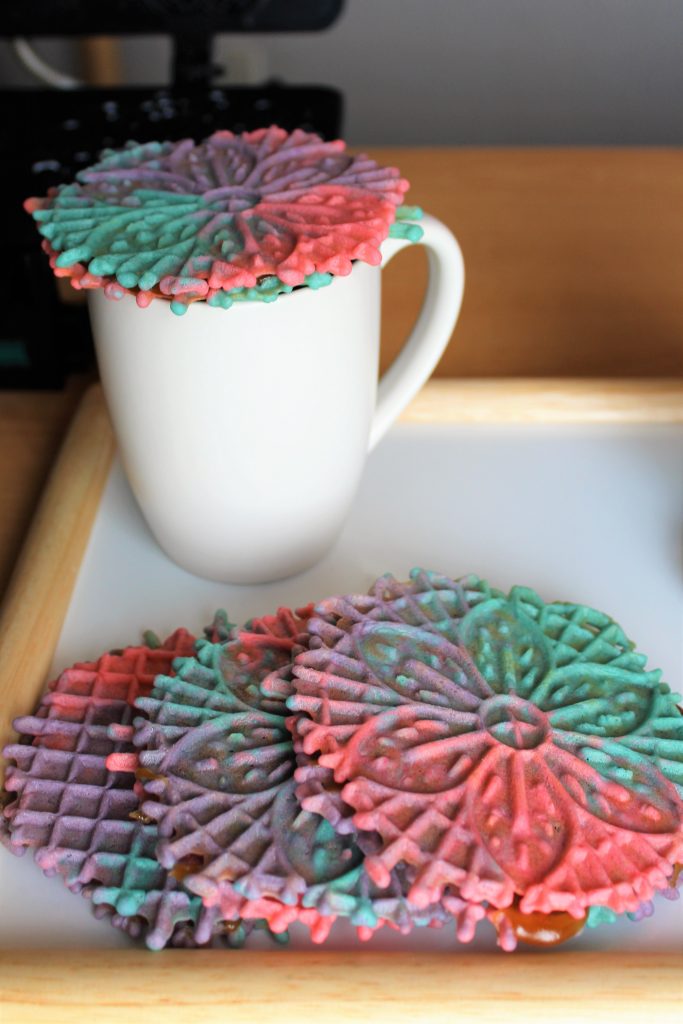
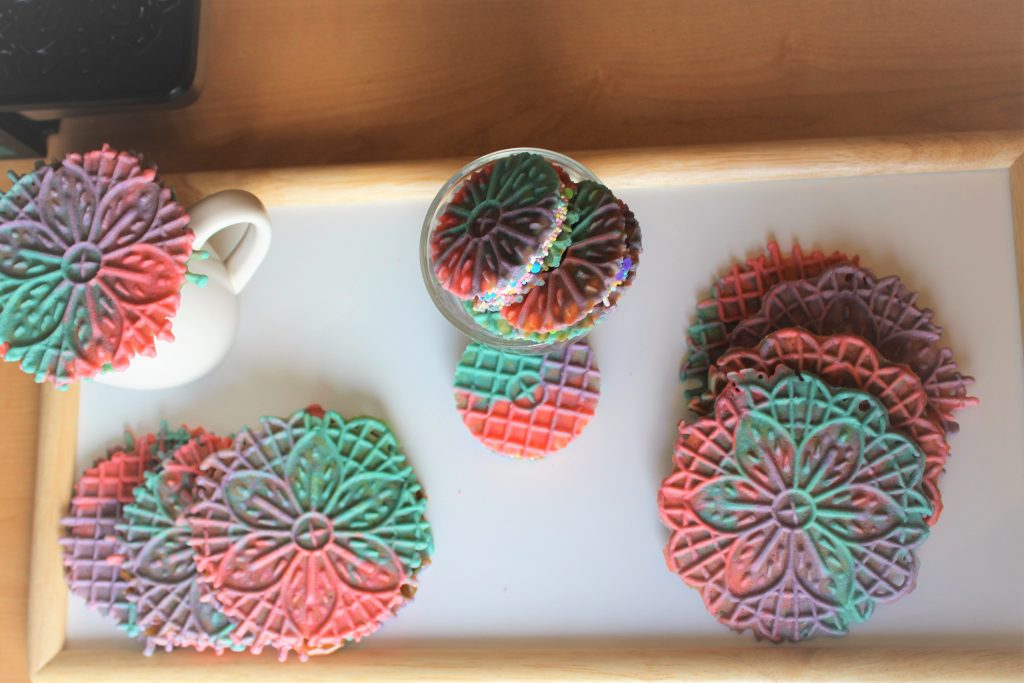
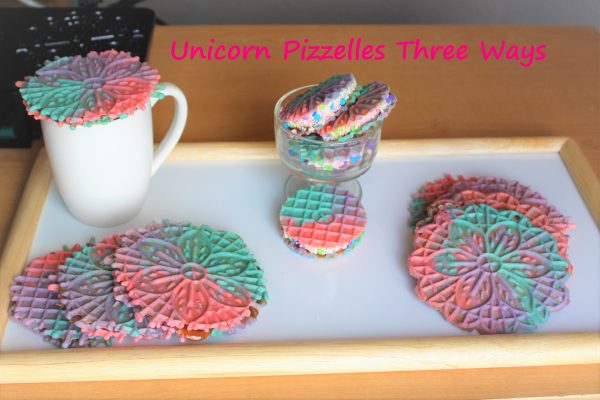
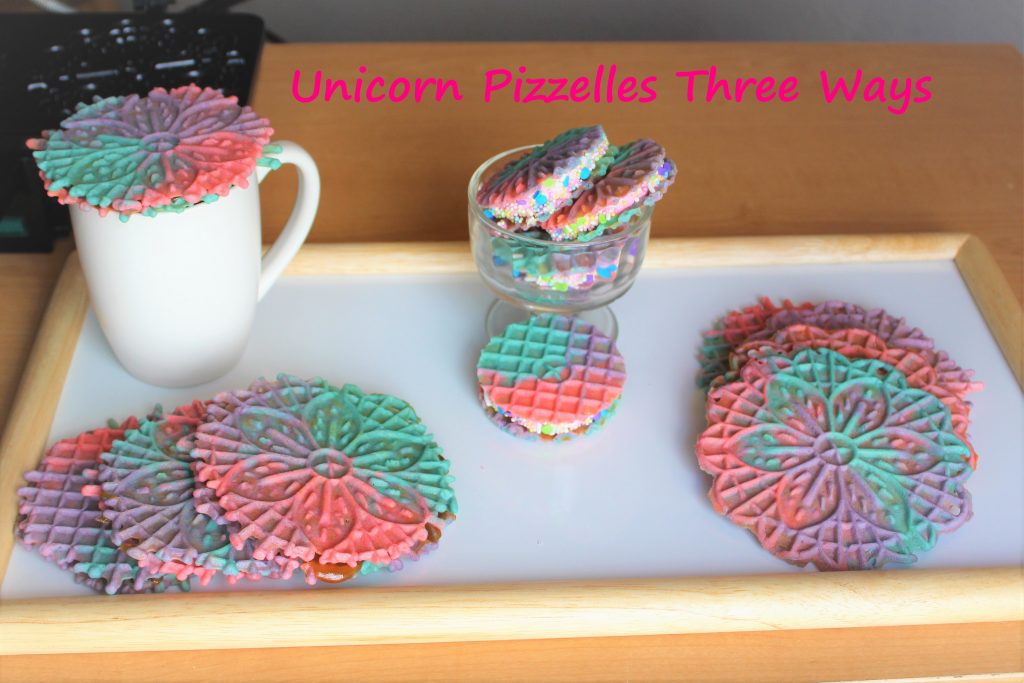
Unicorn Pizzelles Three Ways: Cookies, Sandwiches, and Stroopwafels

Hi everyone! Is it too late to jump on the unicorn bandwagon? 

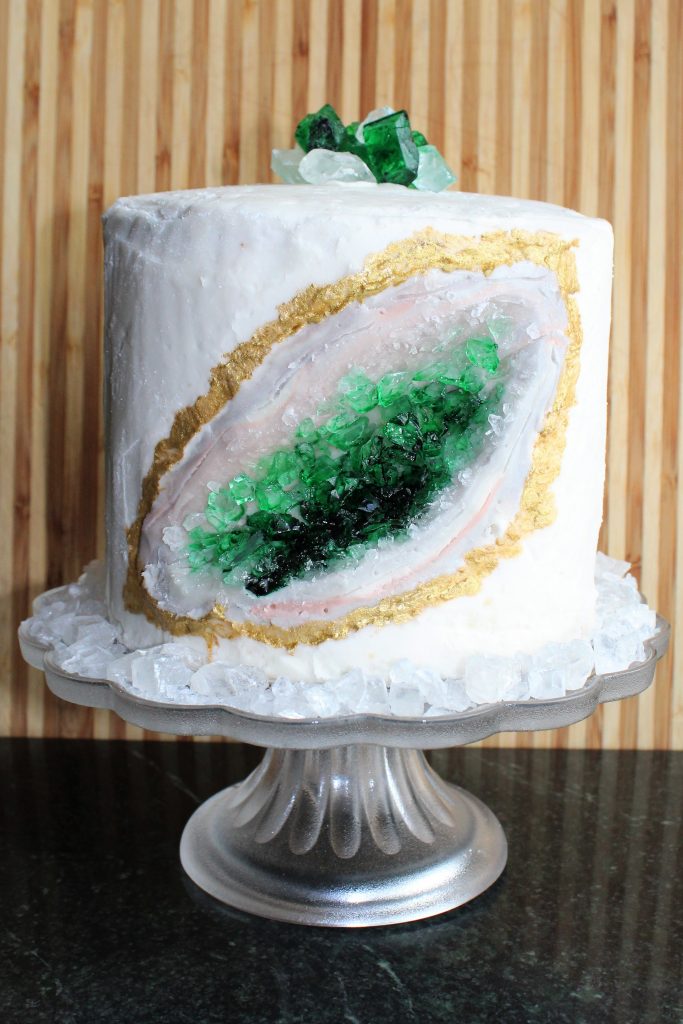
What a busy spring it has been. I was out of town for work most of the last month, and when I finally got back I had this small matter of my wedding to attend to. 🙂 It turned out to be a beautiful day, at least for the few hours we needed it to be. It stormed the night before and then again that afternoon, but in the late morning it dried up and the sun actually peeked out a little bit. It was a small ceremony, with only the two of us and the pastor (and photographer), but it was perfect, and everything we wanted it to be. I made my own wedding cake – I know, everyone says not to do it – but it turned out great. I made one of the geode cakes that has become so popular lately. Do you want to see a picture?

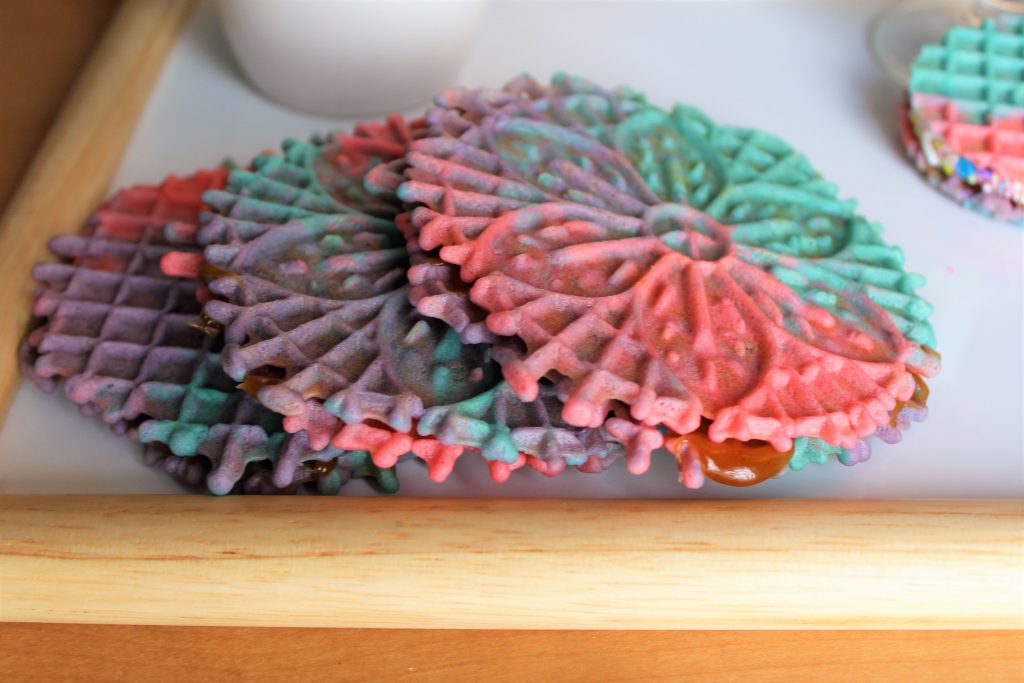
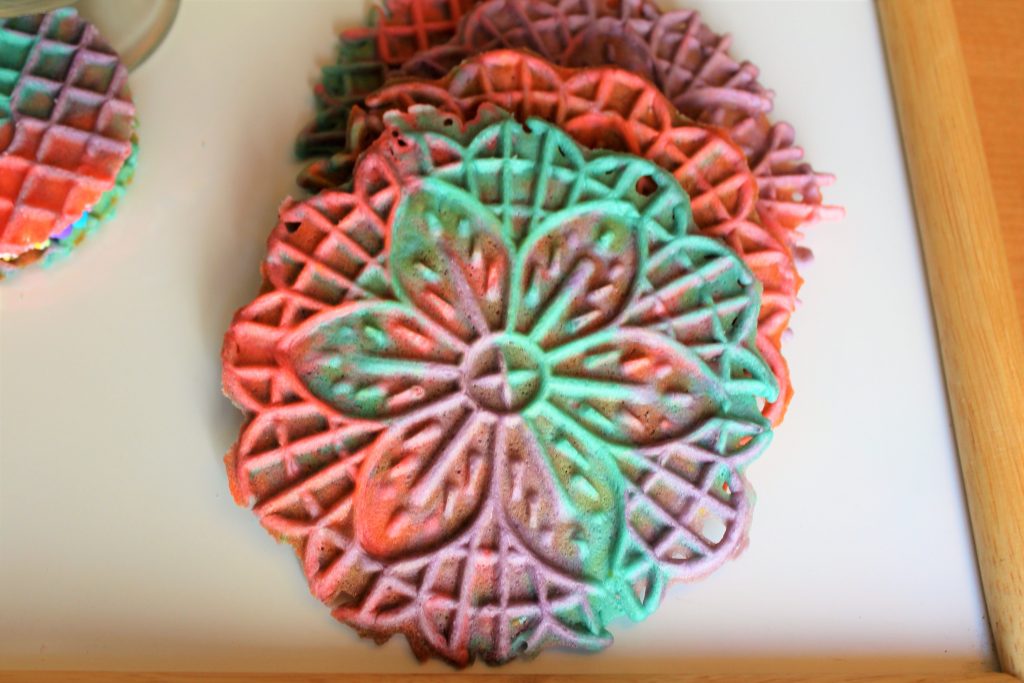
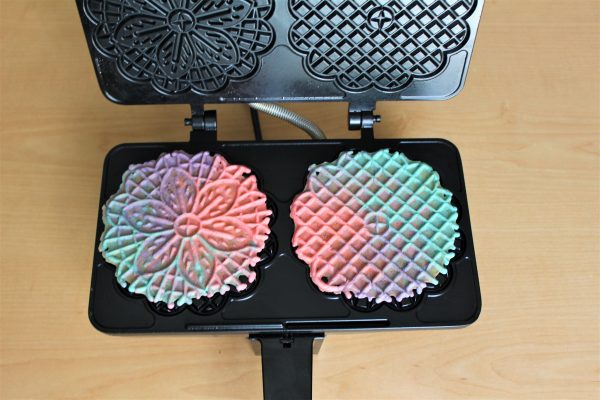
So, as you can see, I have been busy, and I have been baking. I just haven’t had time to do much for this blog. But I got a pizzelle maker from my parents for the wedding, and I knew I had to do something fun with it. Since I hadn’t made any unicorn treats yet, and they seem to be so popular, I decided it was time. And because I just can’t leave something well enough alone, I made a couple of variations.

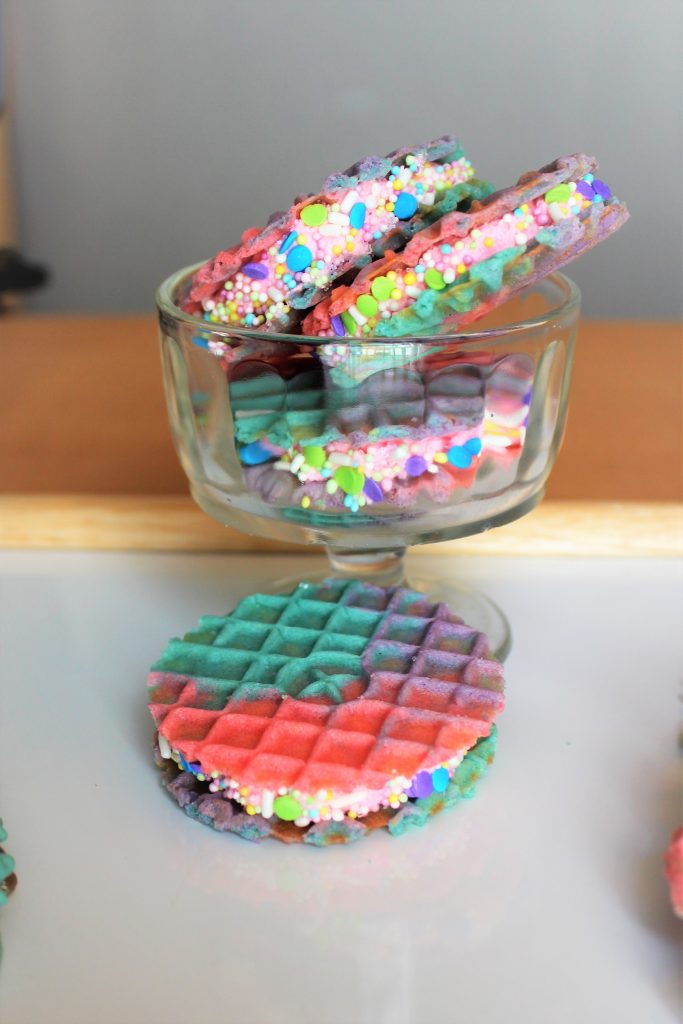
Of course the “plain” cookie is delicious, but I also used a circle cutter to cut smaller circles and filled those with white chocolate buttercream. Then I rolled them in sprinkles. Because unicorn cookies need sprinkles. And for the larger cookies, I filled some with a caramel stroopwafel filling. Stroopwafels are a pizzelle-like cookie from the Netherlands filled with a cinnamon caramel. I had never had one, but they sounded delicious – and they are. Apparently you can place it over a steamy mug of coffee or tea, and that will warm the cookie and filling slightly, making it even better.

Pizzelles are so easy to make. Yes, you need a pizzelle iron, but they are totally worth it. They are a really simple batter, and they cook up so fast you can make a ton of cookies pretty quickly. And, they work perfectly with a 1:1 gluten-free flour blend if you are GF.  You can flavor them with any extract you want. And you can fill them with almost anything. They make great ice cream sandwiches. Or curl them into an ice cream cone while they are still warm. Or spread on some peanut butter, or Nutella, or cookie butter….

If you aren’t into unicorns, go with darker colors and make galaxy-inspired cookies. Or, with graduation season upon us, color these with your school colors. They would be great for a graduation party! However you make them, you should make them soon!


Print Recipe
Unicorn Pizzelles Three Ways
Basic pizzelles, with two optional fillings.
Servings
Ingredients
Pizzelles
White Chocolate Buttercream
Stroopwafel Filling
Servings
Ingredients
Pizzelles
White Chocolate Buttercream
Stroopwafel Filling
Instructions
Pizzelles
  1. Beat eggs and sugar with the whisk attachment of an electric mixer until light yellow in color, 3 to 5 minutes.
  2. Add vanilla and cooled, melted butter and mix until combined.
  3. Sift together flour and baking powder, and gently stir into egg mixture.
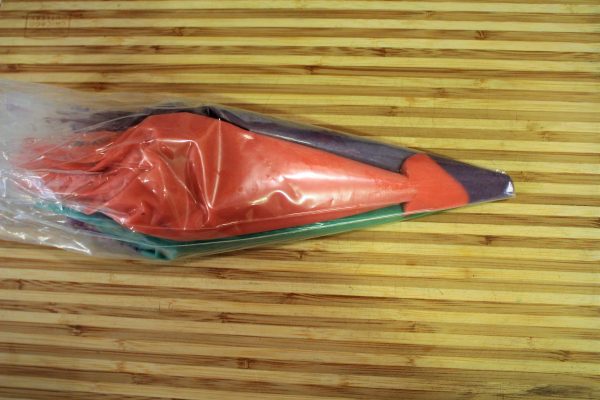
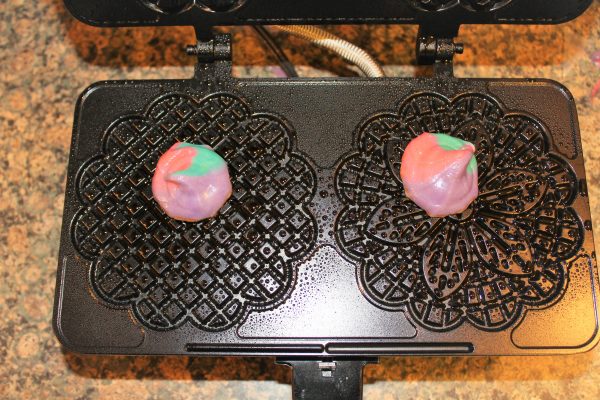
  4. If desired, divide into three equal portions and color each portion a different color.
  5. Place each color into a small disposable piping bag, cut off the ends, and place all three into a larger piping bag.
  6. Or, using a long spatula, place the three colors side-by-side in the large piping bag.
  7. Preheat and grease a pizzelle iron according to manufacturers directions.
  8. Pipe about 1 to 1 1/2 tablespoons of batter onto each circle and bake 25-35 seconds.
  9. Remove from iron with a spatula and place flat onto a wire rack to cool.
  10. For smaller cookies, use about 1/2 tablespoon batter and cook for 15-20 seconds.
  11. As soon as cookies come off of the iron (you have about 15 seconds tops), use a 2 to 3 inch round metal cookie cutter to cut a circle out of the middle of the cookie. Cool on wire rack as above.
White Chocolate Buttercream
  1. Combine chocolate chips and cream in a microwavable bowl.
  2. Microwave for 1 to 1 1/2 minutes, stirring every 30 seconds, until chips are melted. (You are making a white chocolate ganache.)
  3. Cool ganache to room temperature, either on the counter or in the refrigerator.
  4. Place buttercream into a bowl, and beat in cooled ganache.
  5. Sandwich two small pizzelles together with the white chocolate buttercream, and roll edges in sprinkles if desired.
Stroopwafel Filling
  1. Combine all ingredients in a saucepan and cook over medium heat until mixture reaches the soft ball stage, 234 to 240 degrees Fahrenheit.
  2. Remove from heat and cool slightly, no more than 5 minutes.
  3. Working quickly, and CAREFULLY (it's hot sugar!), spread about 1/2 tablespoon of the mixture on one full-size pizzelle and top with another cookie.
  4. If the mixture gets too thick before you finish filling cookies, place the pan back on the burner on low until the mixture starts to thin back out.
Recipe Notes
  • Use any extract you like. Anise is a traditional flavor for pizzelles.
  • Use any colors you like, or leave it uncolored and drop by spoonfuls instead of piping the batter.
  • Fill the cookies (or not) with any filling you like. Ice cream, buttercream, Nutella, etc.
Share this Recipe

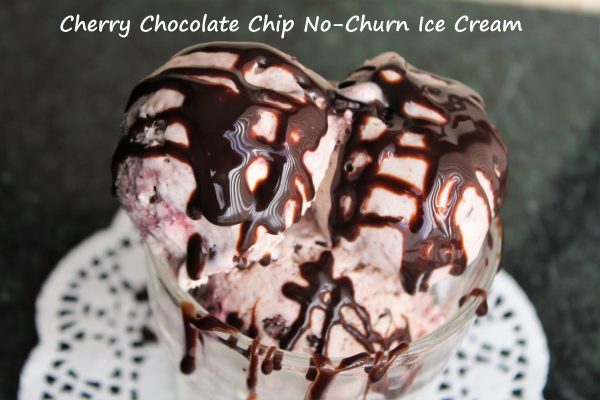
Cherry Chocolate Chip No-Churn Ice Cream

Is it warm enough for ice cream where you live? It’s been warm off and on here, but the truth is we will eat ice cream all year long. 🙂

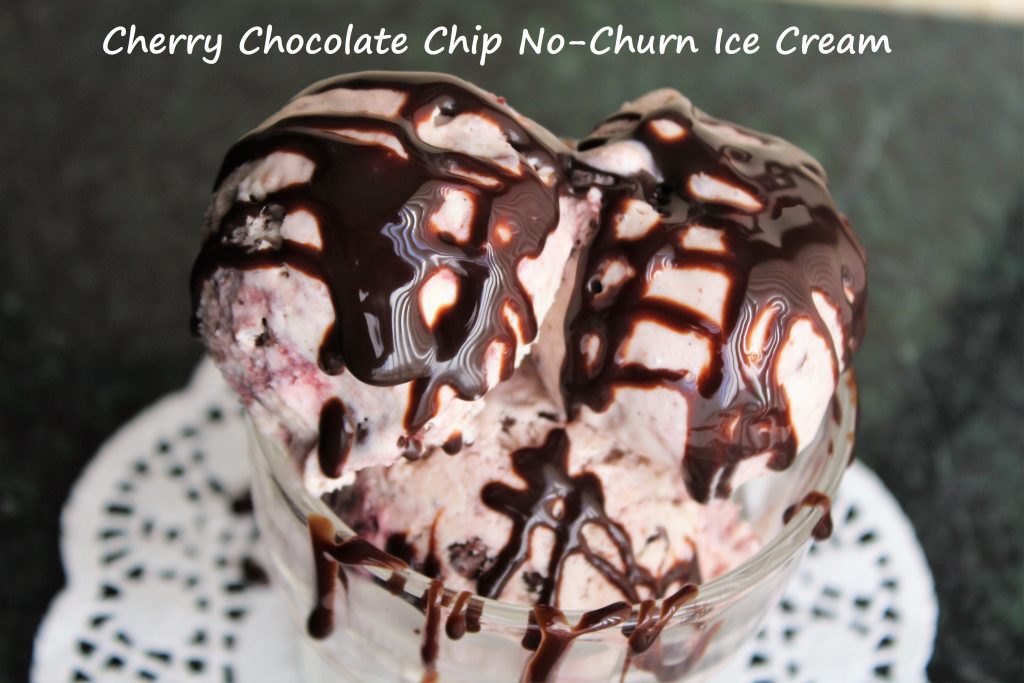
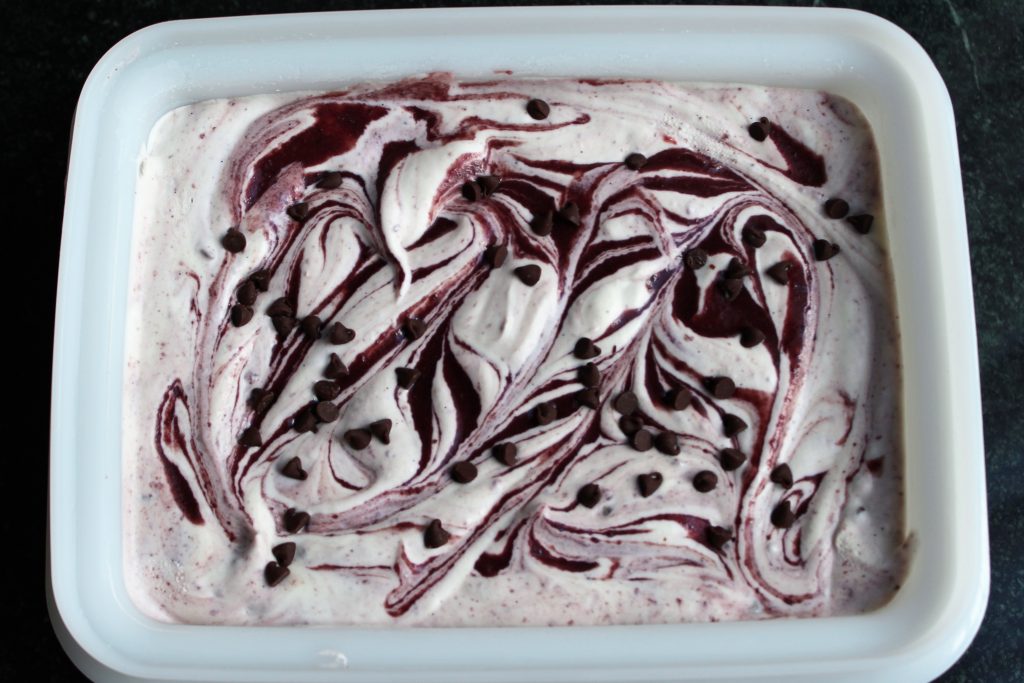
Do you remember the cherry curd I made? I mentioned at the time that you could swirl it into ice cream, and that’s exactly what I did with it! I have made a few no-churn ice creams over the years, and I have to say that I love them. I have an ice cream maker as well, and have made traditional ice cream too, but I really do love the simplicity and texture of the no-churn varieties.

It only takes a few ingredients for the base, and it is endlessly customizable. And there is no chill time, then churn time, then freezer time like traditional ice cream. You mix the ingredients together and stick it in the freezer for a few hours to harden. That’s it. Homemade ice cream in six hours or so. You really can’t beat that!

So the base starts with just a can of sweetened condensed milk and heavy cream. Whip the cream to firm peaks and fold it into the condensed milk. For vanilla ice cream, just add some vanilla extract or vanilla bean paste. Or go crazy with your add-ins. Choose any other extract that sounds good to you. Stir in nuts or chocolate pieces, or drizzle in fudge sauce or caramel. Or do like I did and fold in cherry, or any fruit, curd. You can stir in some cocoa powder to the sweetened condensed milk before adding the whipped cream. I made one that called for a melting peanut butter into the condensed milk before adding the whipped cream.

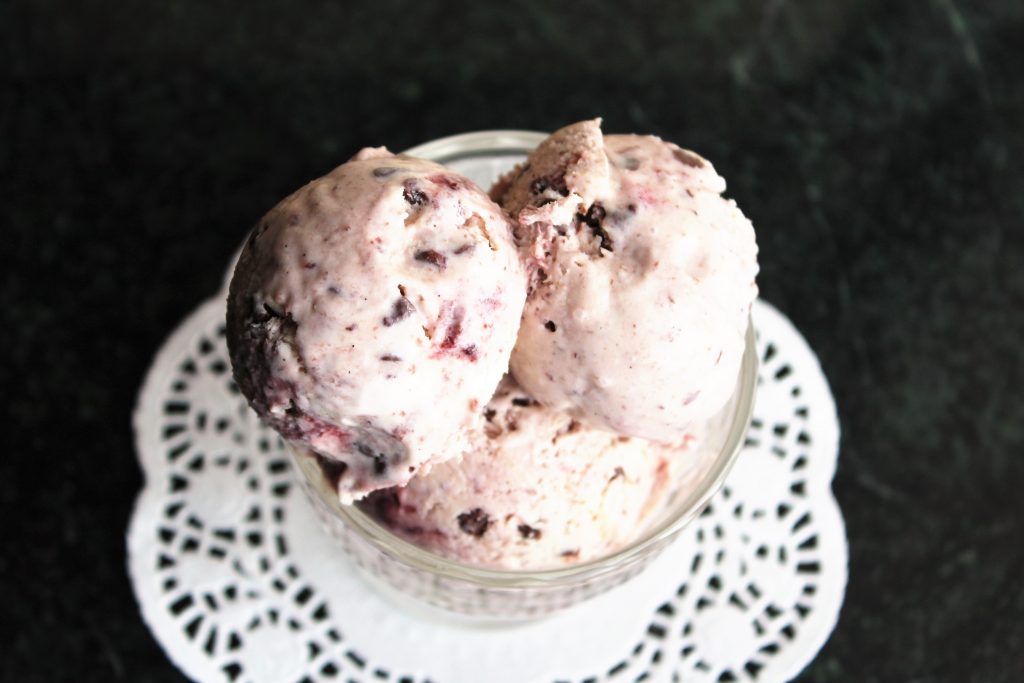
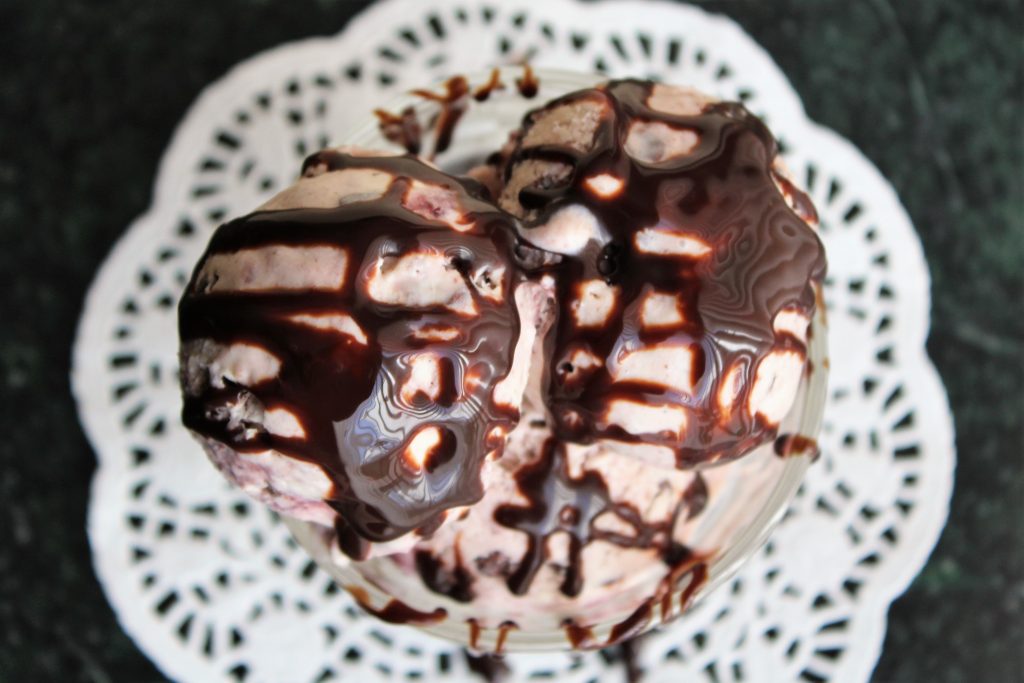
For this particular recipe, I folded about a cup of the cherry curd into the base along with about a half cup of mini chocolate chips. I prefer the mini chips in ice cream because they aren’t as hard to eat when frozen as a larger chip is. I stirred the curd almost completely into the base, but you can leave it as streaky as you’d like. Place the mix into a freezer-safe container, and add a drizzle of curd to the top. Cover tightly and freeze for four to six hours, or until the ice cream is hard.

This no-churn ice cream is so smooth and creamy, I really do prefer it to regular ice cream any more. And it’s so easy to make, there really is no excuse not to try it! 


Print Recipe
Cherry Chocolate Chip No-Churn Ice Cream
Course Dessert
Servings
Course Dessert
Servings
Instructions
  1. Beat the heavy cream with an electric mixer until firm peaks form.
  2. Fold the whipped cream into the condensed milk until almost fully combined.
  3. Fold in the cherry curd and chocolate chips until well distributed or fully incorporated, depending on your preference.
  4. Place into a freezer-safe container and freeze for 4 to 6 hours, or until ice cream is firm.
Recipe Notes

Variations:

Add 2 teaspoons of vanilla or any other extract to the sweetened condensed milk before folding in the whipped cream.

Stir in any nuts or candies of your choice (about 1 to 1 1/2 cups total) after folding in whipped cream.

Melt 2/3 cup peanut butter and mix into the condensed milk before folding in the whipped cream.

Add 1/2 to 3/4 cup cocoa powder to the condensed milk before folding in the whipped cream.

Share this Recipe