Tag Archives: Breakfast

Mom’s Zucchini Bread 2.0

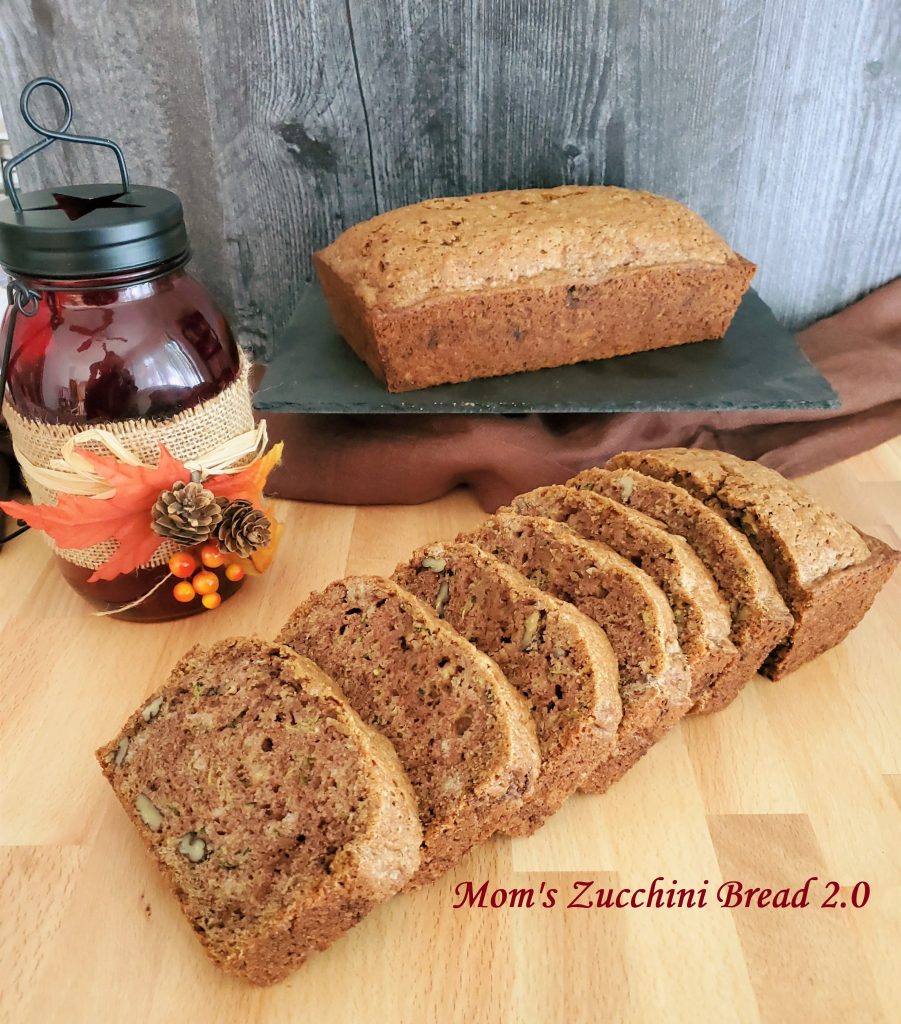
I have the best zucchini bread for you today, ready to use up the last of the fresh zucchini coming in from your gardens and farmer’s markets. I started with a tried and true family favorite, but made some slight adjustments. I think it’s the best zucchini bread out there! It’s still moist and cakey without being dense, and has the best cinnamon flavor without being too sweet. It’s perfect for breakfast, snack time, or even dessert!
Mom's Zucchini Bread 2.0 - The Archaeologist Bakes

As I mentioned, I started with my mom’s recipe that we’ve been using for years. And based on a quick internet search, it seems like a lot of moms and grandmas out there are using the same recipe. And it really was good to begin with, but I wanted to make a few changes.

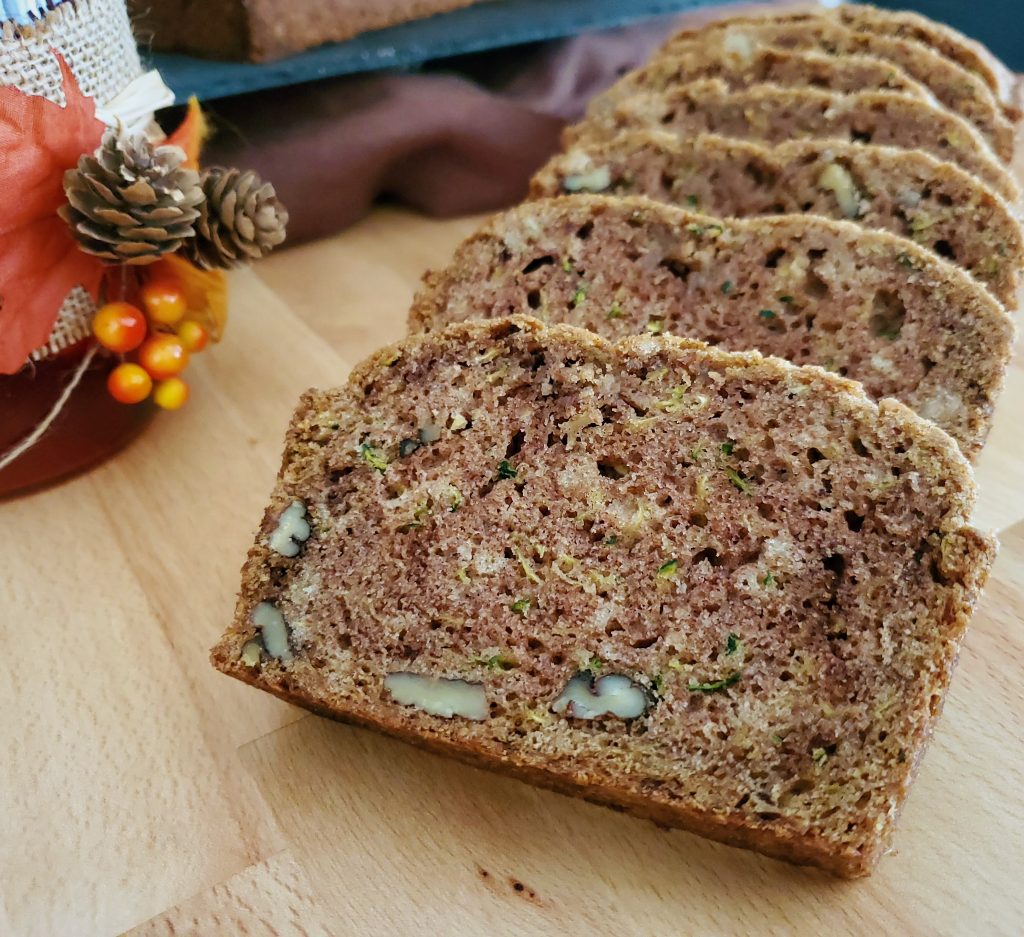
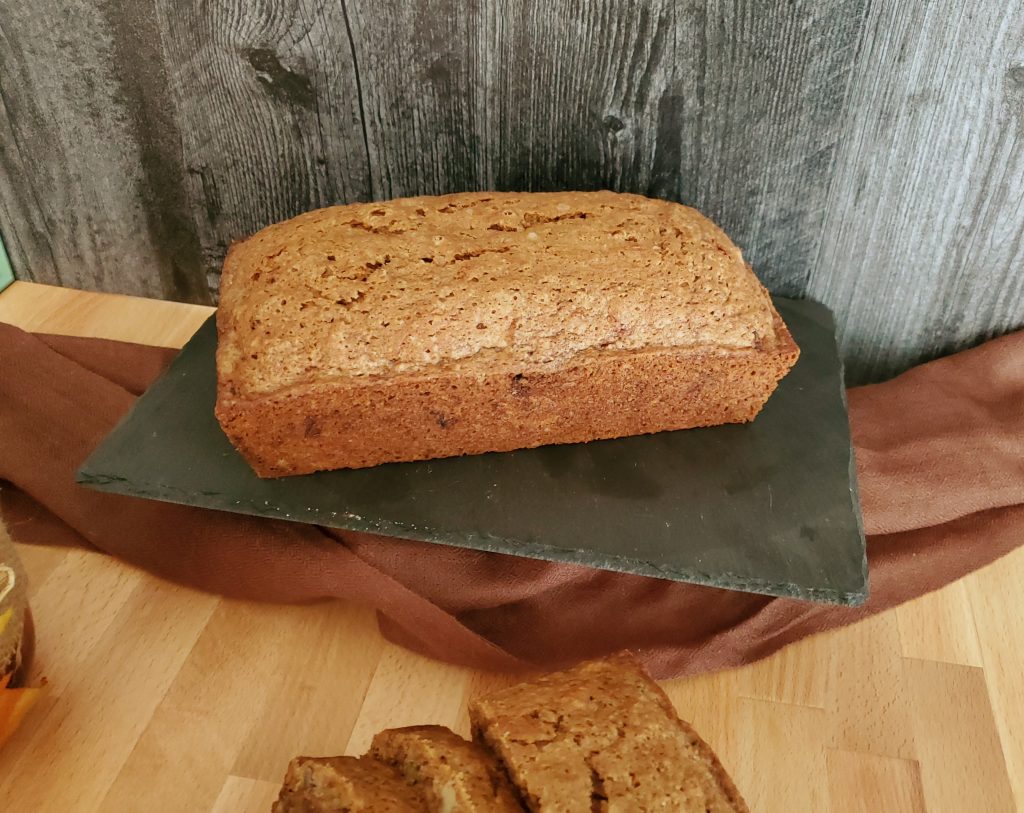
The first problem I encountered with the original recipe was that it was created for 8×4-inch loaf pans. All of my loaf pans are 9×5-inch, and I bet a lot of you have the same size. This meant the loaves (each batch makes two) were pretty flat and sad-looking. But it was too much batter for just one 9×5-inch loaf. So I upped the quantities and now you get two perfectly sized loaves. If you are using 8×4-inch pans, you’ll just get three loaves instead.
Mom's Zucchini Bread 2.0 - The Archaeologist Bakes

The next problem was that while I love a nice, moist, cakey quick bread, most of the zucchini breads I have tried tend to be a little dense and almost wet. I took a page out of some other recipes I had seen, and decided to squeeze out some of the moisture from the zucchini before adding it to the batter. It doesn’t have to be squeezed completely dry, but removing about 1/4 to 1/3 cup of liquid from it helps a lot with the texture of the finished bread.

Because I was removing some of the bitter liquid, and because I sometimes find zucchini bread to be on the sweet side, I also reduced the sugar a bit. It’s still sweet, but it has a nice balance with the other flavors. And while I just use cinnamon, you could easily substitute the spices of your choice. Use apple pie or pumpkin pie spice, or make a blend of your favorite spices (I’m thinking cinnamon, cloves, and cardamom next time).
Mom's Zucchini Bread 2.0 - The Archaeologist Bakes

I add nuts to my zucchini bread, pecans and walnuts to be specific, but as with almost every recipe, those are optional. Use whatever nut or seed you like – pumpkin or sunflower seeds would be great! Just avoid any that are salted for this recipe. Or, make it even more decadent and add chocolate chips, whatever flavor you prefer! You can even leave the add-ins out entirely.

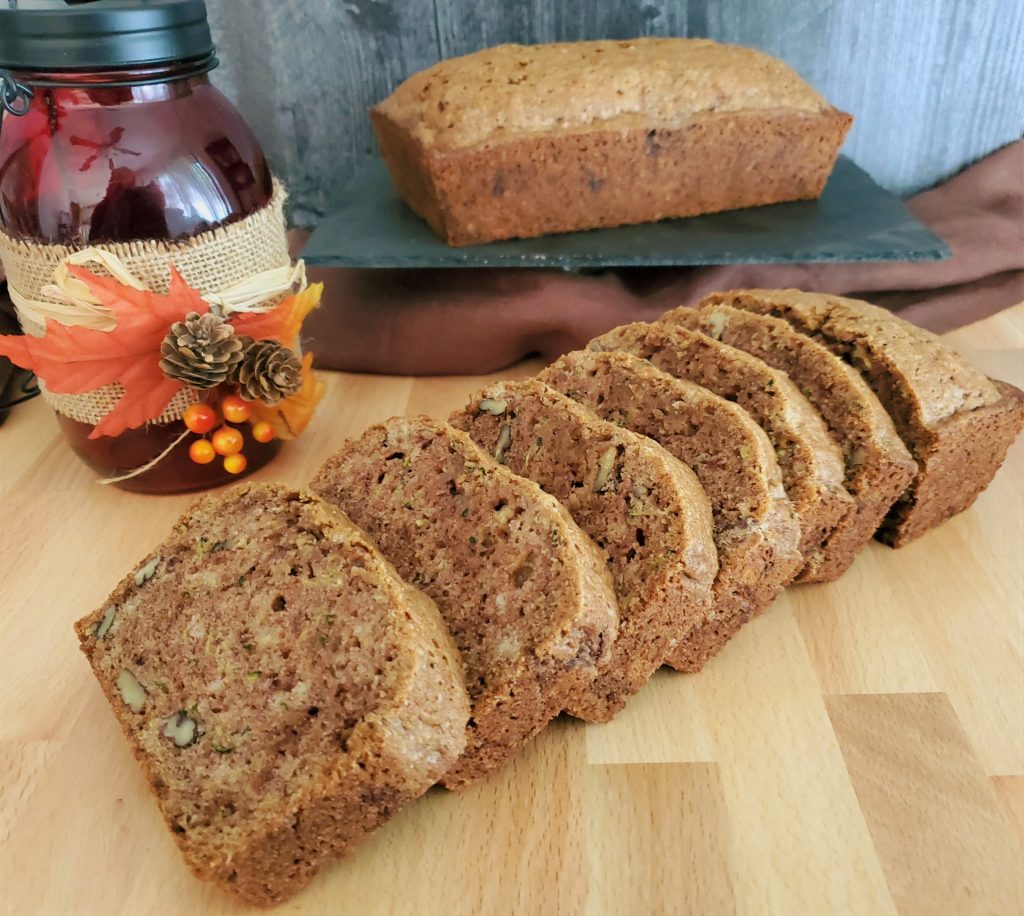
Whatever mix-ins or spices you choose, I hope you give this recipe a try. It is seriously the best zucchini bread I’ve ever eaten, and I think you’ll love it too!
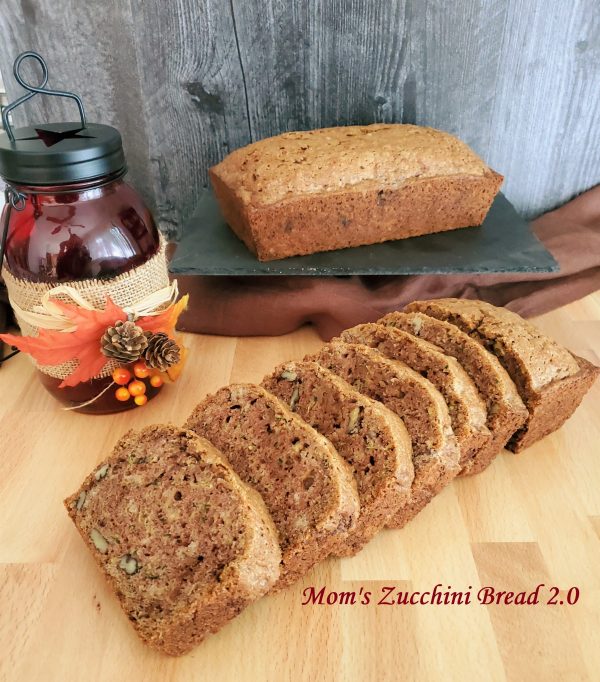
Mom's Zucchini Bread 2.0 - The Archaeologist Bakes
Print Recipe
Mom's Zucchini Bread 2.0
Servings
loaves
Ingredients
Servings
loaves
Ingredients
Instructions
  1. Place grated zucchini in a clean tea towel and squeeze out excess moisture. It doesn't have to be completely dry, but give it a good squeeze to eliminate the excess liquid. You should remove 1/4 to 1/3 cup. Set zucchini aside.
  2. Combine eggs, oil, sugar, and vanilla in a large mixing bowl. Whisk together until well combined.
  3. Add zucchini and stir until incorporated.
  4. Add all dry ingredients except nuts and stir just until there are no streaks of flour remaining.
  5. Stir in nuts.
  6. Pour into two greased 9x5-inch loaf pans. Bake at 325 degrees F for 60 to 70 minutes or until a toothpick inserted near the center has a few moist crumbs attached.
  7. Cool in pans for 10 minutes before removing to wire rack to cool completely.
  8. Store in an airtight container at room temperature for up to 5 days, or freeze, well-wrapped, for up to 3 months.
Recipe Notes
  • Use three pans if you have 8x4-inch loaf pans. It's ok to bake two and keep the remining batter refrigerated until you can wash and re-use one of the pans.
  • As always, nuts are optional. Use any unsalted variety you like, or substitute with seeds or chocolate chips. 
  • Instead of cinnamon use apple pie or pumpkin pie spice. Or create your own spice blend. Just use the same total amount -  1 1/2 tablespoons.
Share this Recipe

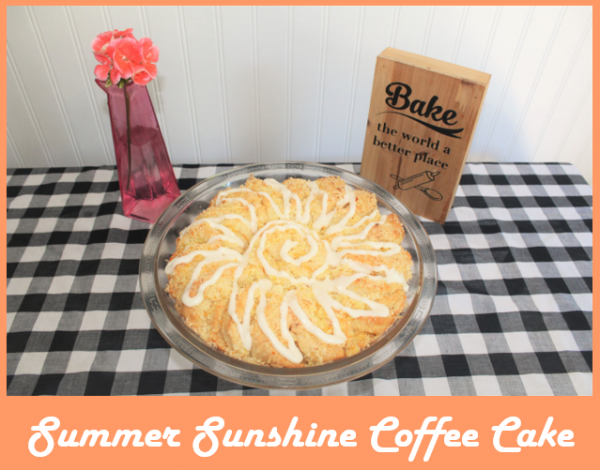
Summer Sunshine Coffee Cake

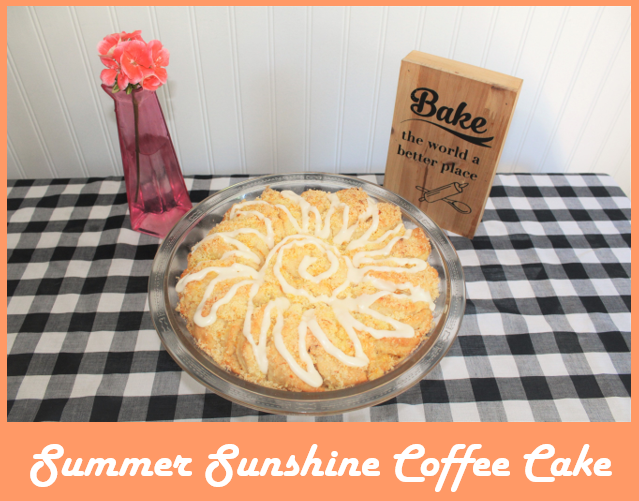
I have the perfect summer weekend breakfast treat for you today! Made from homemade biscuits and full of bright citrus flavors, it also makes a great afternoon pick-me-up, or even a light dessert. And it’s easy to make and comes together fairly quickly, making it great for last-minute or unplanned guests.

I got the inspiration from Paula Deen’s Orange Coffee Cake, but I wanted to make it a little more homemade. Instead of canned biscuits, I decided to make homemade angel biscuits, which are essentially a yeasted buttermilk biscuit. They are a little flaky and a little bread-y, and I think they are perfect in this application.

I also wanted to update the flavor slightly. I’m personally not a huge fan of orange flavor, but I thought mixing it with grapefruit would be a nice twist. I really like the combination in this cake. The two flavors complement each other well, without either being overwhelmed by the other. And the citrus really brightens up a cake that could otherwise feel heavy and rich. I finished if off with a cream cheese glaze, flavored lightly with grapefruit juice, since I thought that would be a little more subtle than orange, but you could use either one.

You could definitely change up the flavor with whatever citrus you love, or have on hand. I personally love limes, and think that would make a great cake. Blood oranges would make a fantastic winter cake. And can you ever go wrong with Meyer lemons? Use just a single fruit, or mix a few together to find your perfect cake.

I really hope you give this recipe a try. If you’re intimidated by yeast dough this is a perfect place to start, since there isn’t a ton of kneading. And if you really don’t want to use yeast or wait the short rise time, you can use your favorite biscuit recipe and follow the rest of the directions with that dough. However you make it, I know you’ll love it!

Print Recipe
Summer Sunshine Coffee Cake
Servings
people
Ingredients
Biscuits
Filling and Topping
Icing
Servings
people
Ingredients
Biscuits
Filling and Topping
Icing
Instructions
  1. Combine yeast, warm water, and 2 teaspoons sugar in a small bowl and set aside.
  2. In a large bowl, combine flour, baking powder, baking soda, and salt. Grate cold butter into flour mixture (see recipe notes for tips), and toss gently to combine well and coat all pieces with flour.
  3. Stir in yeast mixture, sour cream, and milk and mix well. Dump onto a lightly floured surface and knead gently until mixture is smooth and all flour is fully incorporated.
  4. Place into a greased bowl, cover, and let rise in a warm place until doubled in size, approximately 30-45 minutes.
  5. While dough is rising, combine 1/2 cup sugar with orange and grapefruit zests and mix well. Melt 1 tablespoon of butter and set aside.
  6. Once dough has risen, lightly punch down and place on a lightly floured surface. Roll out to 1/2-inch thickness. Sprinkle with half of sugar and zest, then fold dough in half.
  7. Roll again lightly to 3/4-inch thickness. Cut out biscuits with 3-inch round cutter, pressing straight down without twisting. Try to get as many out of the first roll as possible. Ideally you should get 7 to 8 biscuits with the first roll. Lightly press together any scraps and cut additional biscuits. You should have 9 in total.
  8. Place one whole biscuit, one from the second batch of cutting, into the center of a greased 9-inch pie plate or cake pan. Cut remaining 8 biscuits in half with a sharp knife, creating half circles. Place the 16 pieces around the center biscuit, slightly overlapping and with all cut sides facing the same way, like flower petals.
  9. Brush the top of the biscuits with the melted butter, and sprinkle with the remaining sugar and zest mixture.
  10. Bake at 375 degrees Fahrenheit for 18-22 minutes or until golden brown.
  11. While coffee cake is cooling, make icing. Whisk together the cream cheese and powdered sugar. Add enough juice to make a thick icing that is just thin enough to be drizzled. Drizzle over cooled cake.
Recipe Notes
  • When grating butter into flour mixture, use full stick (8 tablespoons). Unwrap most of the way, and while holding the wrapped end, grate in 7 tablespoons. Save remaining tablespoon for topping.
  • Use any combination, or single flavor, of citrus zest and juice.
Share this Recipe

Peanut Butter Crumb Topped Banana Bread

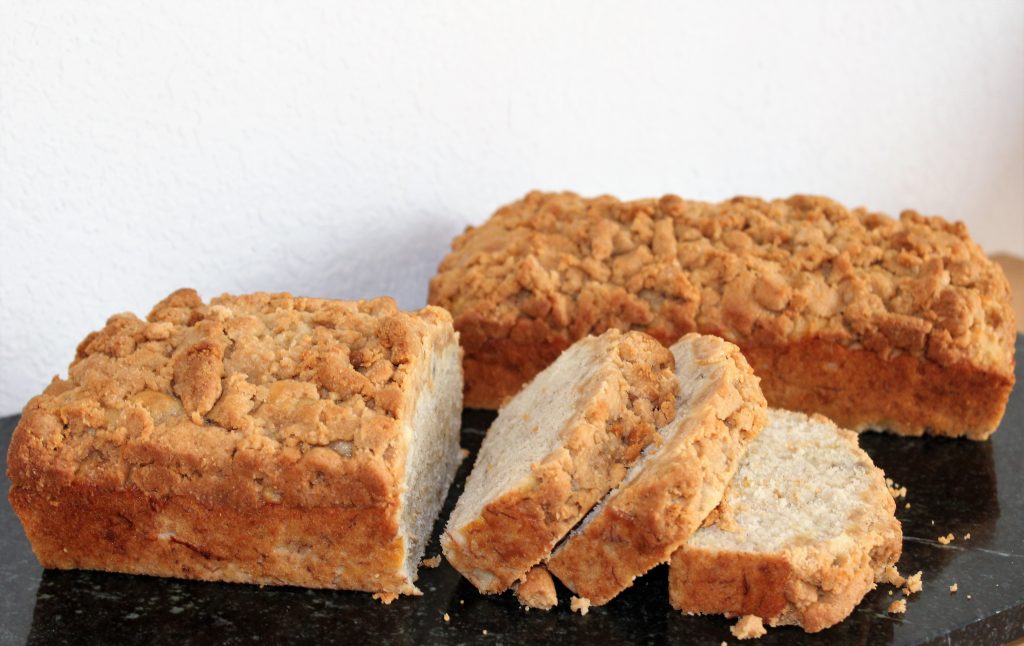
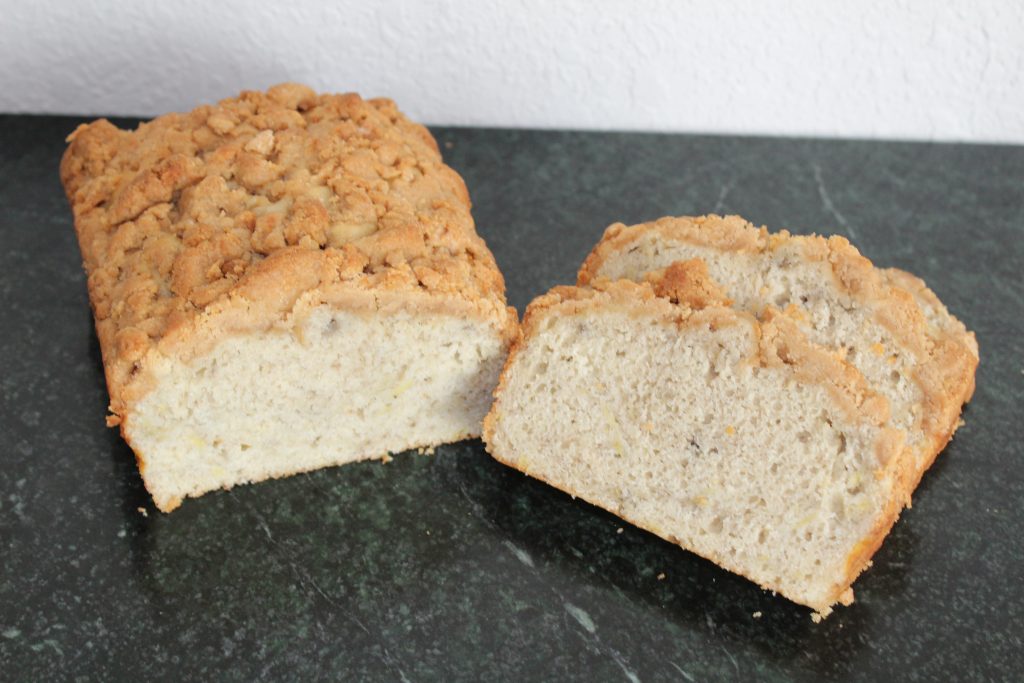
It’s almost time for school to start, and I have a great recipe for quick breakfasts or lunchbox treats. Peanut Butter Crumb Topped Banana Bread is a perfect mix of peanutty crumb topping and sweet banana bread.

I have been seeing so many variations on banana bread lately – crumb topped (cinnamon, graham cracker, cookie butter, and more), stuffed with cream cheese, filled with chocolate chips, or swirled with peanut butter. They all sound so good. But then I saw a recipe for peanut butter crumb-topped brownies, and I decided that the two had to meet.

Although I love walnuts or pecans in banana bread, I left them out this time. You could absolutely add them back in – or use chopped peanuts for an extra peanut bite. Chocolate chips, peanut butter chips, even butterscotch or caramel chips would be a welcome addition. You can also substitute the nut or seed butter of your choice in the crumb topping as well.

Did I mention this recipe makes two loaves? That’s right – one for right now (I ate half a loaf warm from the oven so be warned!), and one for the freezer for those hectic weekdays. I love eating a slice bread of this for breakfast, but it makes a great snack as well. Pack it in a lunchbox or serve a slice after school. This is going to become your favorite banana bread!


Print Recipe


Peanut Butter Crumb Topped Banana Bread

Servings
loaves


Ingredients
Peanut Butter Crumb Topping

Banana Bread

Servings
loaves


Ingredients
Peanut Butter Crumb Topping

Banana Bread


Instructions
Peanut Butter Crumb Topping
  1. Melt peanut butter and butter together.

  2. Stir in remaining ingredients and set aside.

Banana Bread
  1. Combine butter and slightly chopped, or broken, bananas in a microwave safe bowl or large saucepan. Heat over low heat, or 30 seconds at a time in the microwave. Stir and mash with a large spoon or potato masher until butter is melted and bananas are soft and mashed.

  2. Remove from heat. Stir in sugar and salt. Add eggs, milk, and vanilla and mix well.

  3. Stir in flour and baking powder just until combined.

  4. Gently stir in any mix-ins, if using.

  5. Divide evenly between two greased 9"x5" loaf pans.

  6. Divide peanut butter mixture in half, and crumble evenly over batter in pans.

  7. Bake at 350-degrees F for 40-45 minutes, or until toothpick inserted in the middle comes out clean

  8. Cool 10 minutes before turning out of pan onto cooling rack to cool completely.

  9. To freeze, wrap well in plastic wrap and foil, and place in a zip-top freezer. Freeze for up to a month.


Recipe Notes
  • Add chopped peanuts to up the peanut butter flavor.
  • Use pecans or walnuts for a more traditional banana bread.
  • Use any flavor chips - chocolate, peanut butter, butterscotch, caramel, etc.
  • Substitute any nut or seed butter for the peanut butter in the crumb topping.


Share this Recipe

Pecan Sticky Buns

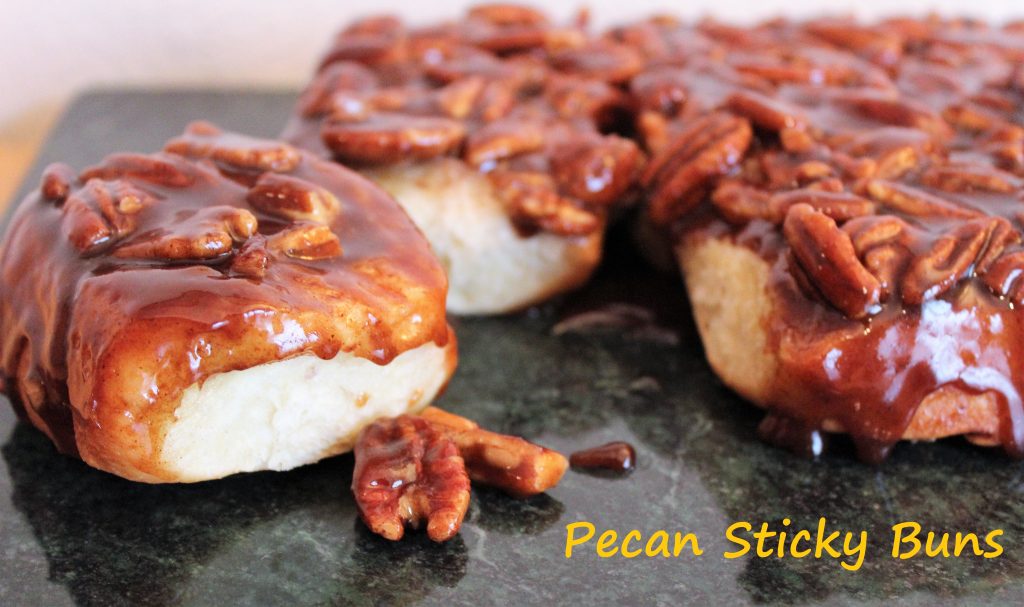
Do you have breakfast plans this weekend? Or are you looking for something sweet to add to your Easter brunch next weekend? If so, you’re in luck, because I have the recipe for the best-ever sticky buns.

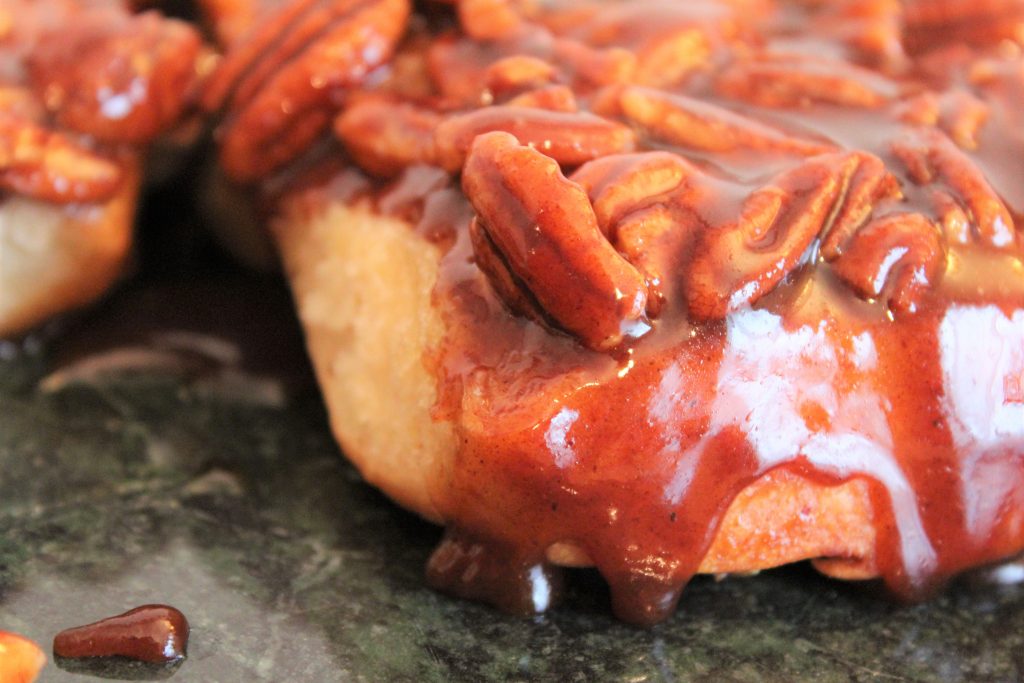
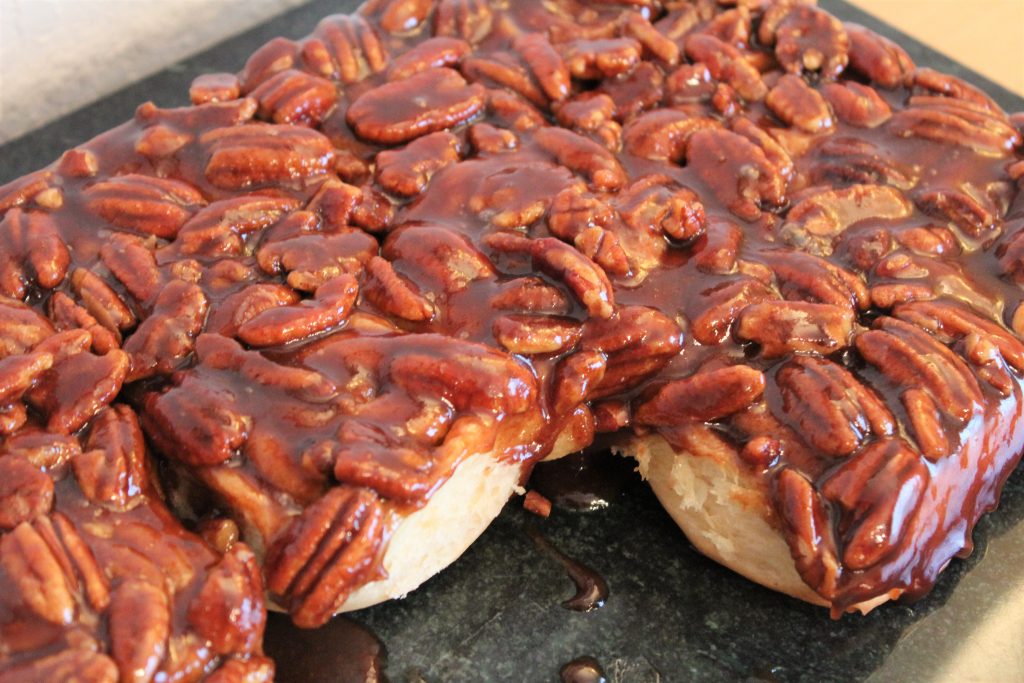
These are one of my favorite breakfast treats. My mom made them on occasion when I was a kid, and I was always excited when they made an appearance on the breakfast menu.  I’ve tried a number of other sticky buns since then, and I have yet to find any that are as good as these. They are full of caramel and pecans, with a hint of cinnamon. And they are perfectly gooey and sticky.

Sticky buns may seem intimidating, but they are really pretty simple to make. If you can make a cinnamon roll, you can definitely make these. It starts with a rich yeast dough which is filled with chopped pecans, butter, brown sugar, and a little cinnamon. The topping is just brown sugar, butter, corn syrup, a little more cinnamon, and a ton of pecans.

As always, you can leave the pecans out of both the topping and the filling, or substitute another nut of your choice. Most of the sticky bun recipes I see do not include cinnamon, especially in the topping. I really like it in there, but you can definitely leave it out as well. And you could put whatever you like in the filling – add a handful of raisins or other dried fruit if you’re so inclined, or even some mini chocolate chips if you want to really take it over the top.


These are so good, and you probably have everything you need already in your pantry. Make these this weekend or for Easter brunch (or both!). I promise you will love them!

Print Recipe
Pecan Sticky Buns
Servings
Ingredients
Rolls
Topping
Filling
Servings
Ingredients
Rolls
Topping
Filling
Instructions
Dough
  1. Dissolve the yeast in the warm water.
  2. Scald the milk (bring it just to a simmer) and add the butter. Let cool to warm room temperature while the butter softens and partially melts.
  3. Transfer milk mixture and yeast to stand mixer. Add sugar and eggs and mix well with the paddle attachment. (You can also do this by hand with a large spoon).
  4. Add salt and 4 cups flour and mix well with the dough hook attachment (or a spoon).
  5. Continue to knead dough, adding up to 1/2 cup additional flour, until dough is only slightly sticky, about 5 minutes with the mixer.
  6. Place in a greased bowl, cover, and let rise until doubled, about 1 hour.
Topping
  1. Combine all ingredients except pecans in a medium saucepan and bring to a boil over medium heat.
  2. Boil for 1 minute.
  3. Pour into a greased 9"x13" baking pan and sprinkle with pecan halves. Set aside.
Filling and Assembly
  1. Combine brown sugar, cinnamon, and pecans in a small bowl.
  2. Roll dough, once doubled, into a 12"x 22" rectangle.
  3. Brush with melted butter and sprinkle with filling.
  4. Roll up, jelly-roll style, starting on the short end. (You should end up with a roll 12" long.)
  5. Cut into 1" slices and place, cut side up, onto topping in prepared pan.
  6. Cover and let rise again until doubled. See note to prepare the night before and bake in the morning.
  7. Bake at 350-degrees F for 15-20 minutes or until golden brown.
  8. Remove from oven and cool for 10 minutes (no longer!) for the topping to harden slightly.
  9. Invert onto serving platter, scraping any pecans and topping left in the pan onto the top of the rolls.
  10. Enjoy warm! Rolls will keep up to 3 days covered at room temperature, but do yourself a favor and microwave them for a few seconds to rewarm before eating. 🙂
Recipe Notes

Note: To make these the night before, follow instructions until the second rise (in the pan). When rolls are not quite doubled in size, cover with plastic wrap and refrigerate. The next morning, remove from refrigerator and preheat oven. Once oven is preheated, bake rolls for 25-30 minutes, or until golden brown.

  • Substitute pecans for your favorite nut, or leave out completely.
  • Leave out cinnamon in the topping and/or filling if you prefer. If leaving the cinnamon out of the topping, consider adding a pinch to 1/4 teaspoon of salt for that salted caramel flavor.
  • Add fillings of your choice - raisins, dried fruit, mini chocolate chips, etc.
Share this Recipe