I’ve had a couple of busy weekends, so I haven’t had a lot of time to get a new recipe to you. Last weekend I was elbows-deep in flour and sugar, making a cake for a co-worker’s granddaughter’s 18th birthday. I really enjoy making and decorating cakes and cookies, and I’ve been thinking about adding a section to this website with some of my work. Look for that soon.
For now, let’s talk about this bread. Growing up, I loved Little Caesar’s pizza. (Ok, I still do.) Whenever we got take-out pizza, it was always Little Caesar’s. I had it for my birthday dinner most years. And if you are going to order their pizza, you must get the Crazy Bread. Please tell me you know what Crazy Bread is. They bake their pizza crust into breadsticks, and slather it with butter, garlic, and parmesan cheese. Seriously. Delicious.
As I’ve been brainstorming ideas (by which I mean spending too many hours on Pinterest) for this blog, I still keep seeing pull-apart breads. They seemed to get pretty popular a few years ago. The first one I saw was a cinnamon version. At the time, I was baking for a few farmer’s markets and decided to try it out. That version is delicious, but I really wanted to have some savory items too. So tried making one with cheddar cheese and chives, and then I made a French Onion one. They were both very good ideas, and I’ve included those options in the recipe below. But, since I keep seeing commercials for Crazy Bread, this is the version that’s been stuck in my head for a few weeks now.
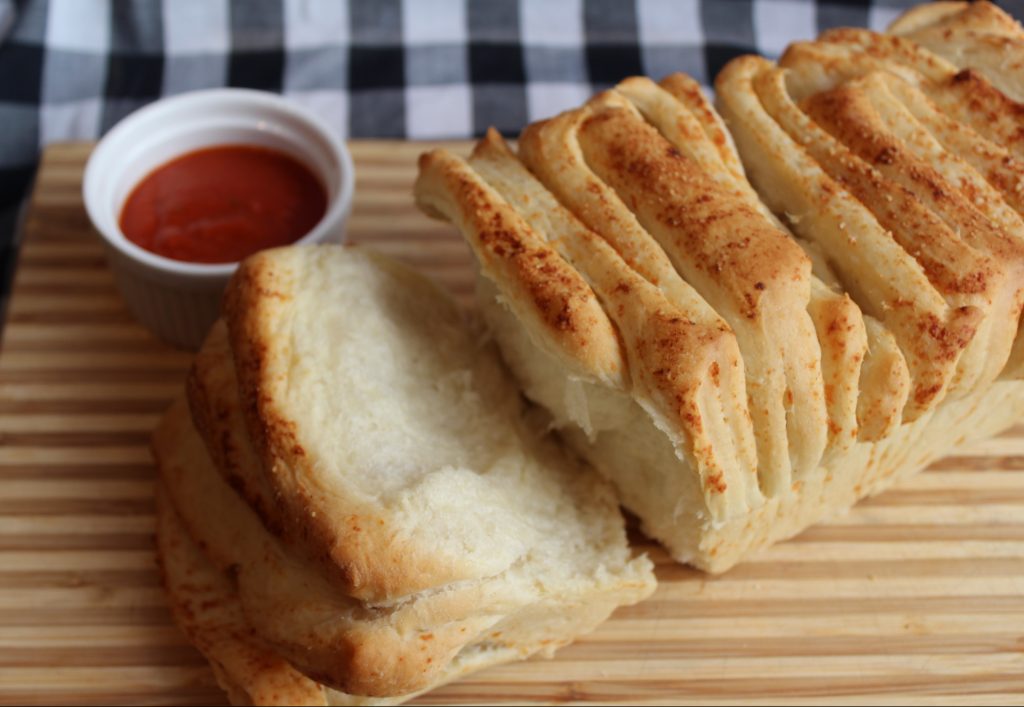
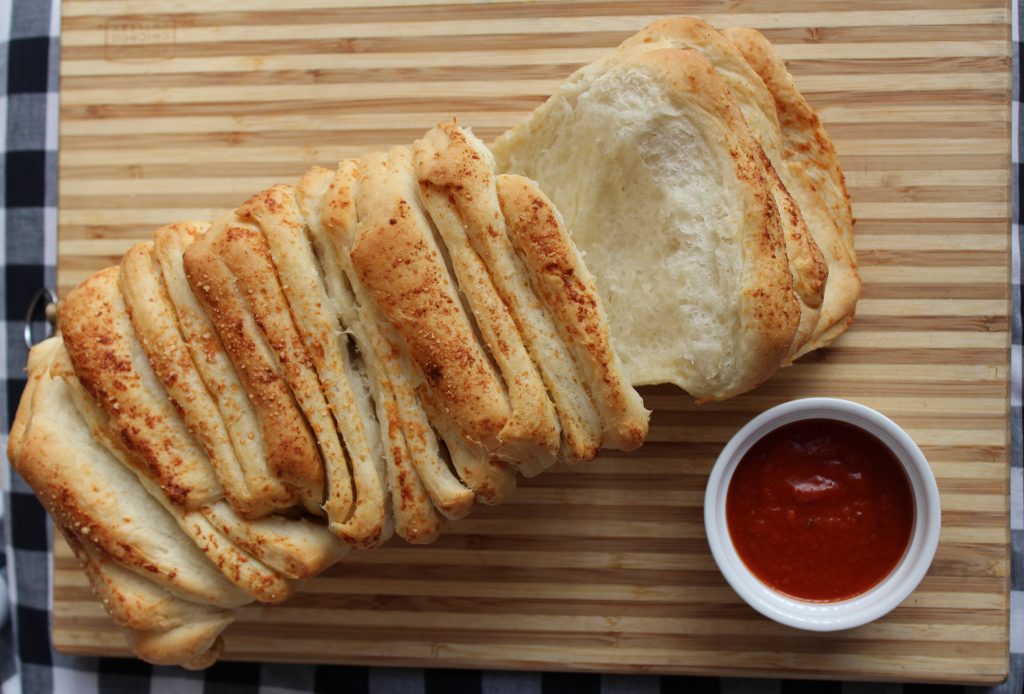
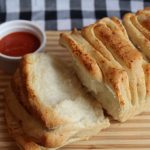
I start with my mom’s pizza crust recipe. It’s a nice soft dough that makes a pretty soft crust – perfect for Crazy Bread. It’s also super simple, and doesn’t require a mixer. The dough comes together in about 5 minutes, and then you let it rise. Once it’s risen, roll it out into a rectangle, slather it with garlic butter and cheese, and then cut it into strips. Stack those strips up, and cut into squares. Then you just put those into the pan, and sprinkle with more cheese. Let it rise briefly, bake, and brush on the rest of that garlic butter. And then devour, with marinara sauce if you’d like.
Pull-Apart Crazy Bread
2016-10-10 10:09:43
Yields 1
Garlic, Butter, Parmesan, Bread. What more could you want?
- 1 package active dry yeast (about 2 1/4 teaspoons)
- 1 1/2 cups warm water
- 2 tablespoons sugar
- 2 tablespoons olive or vegetable oil
- 1 teaspoon salt
- 3 to 4 cups flour
- 6 tablespoons unsalted butter
- 1/4 teaspoon salt
- 1/2 teaspoon garlic powder
- 1/2 cup grated parmesan cheese
Add ingredients to shopping list
If you don’t have Buy Me a Pie! app installed you’ll see the list with ingredients right after downloading it
- Combine yeast, water, sugar, and oil in a large bowl and let sit for 5 minutes. Add salt and 3 cups of flour and stir to combine. Add more flour as necessary to make a soft dough that doesn't stick to your hands. Do not use more than 4 cups flour - the dough should be very soft. Place into a greased bowl, cover, and let rise in a warm place until doubled, about 45 minutes.
- Grease, or spray with non-stick spray, a 9" by 5" loaf pan.
- Melt butter with salt and garlic powder, either in the microwave on 50% power or on low on the stovetop.
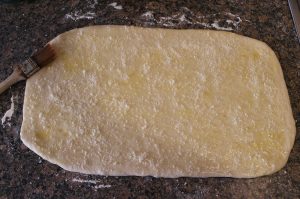
- Turn the dough out onto a floured surface and roll into a 12" by 20" rectangle. It doesn't have to be perfect. Brush on about half of the garlic butter. Sprinkle with all but 1 tablespoon of the cheese.
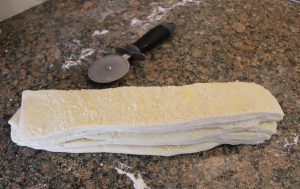
- Cut the rectangle into 6 long strips, about 2" by 20". Stack all of the strips on top of each other and cut into 4 pieces. You will then have 4 stacks of small rectangles.
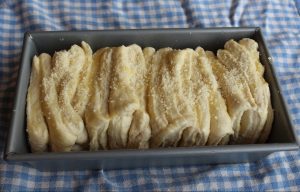
- Place the stacks, on their sides, into the pan. They should be stable enough that you can do this one stack at a time.
- Sprinkle with the remaining cheese, then cover loosely with a towel and set aside to rise for 20 minutes.
- While the dough rises in the pan, preheat the oven to 350 degrees.
- Bake for 35-40 minutes, or until the bread is golden brown. Remove from oven and brush with the remaining garlic butter.
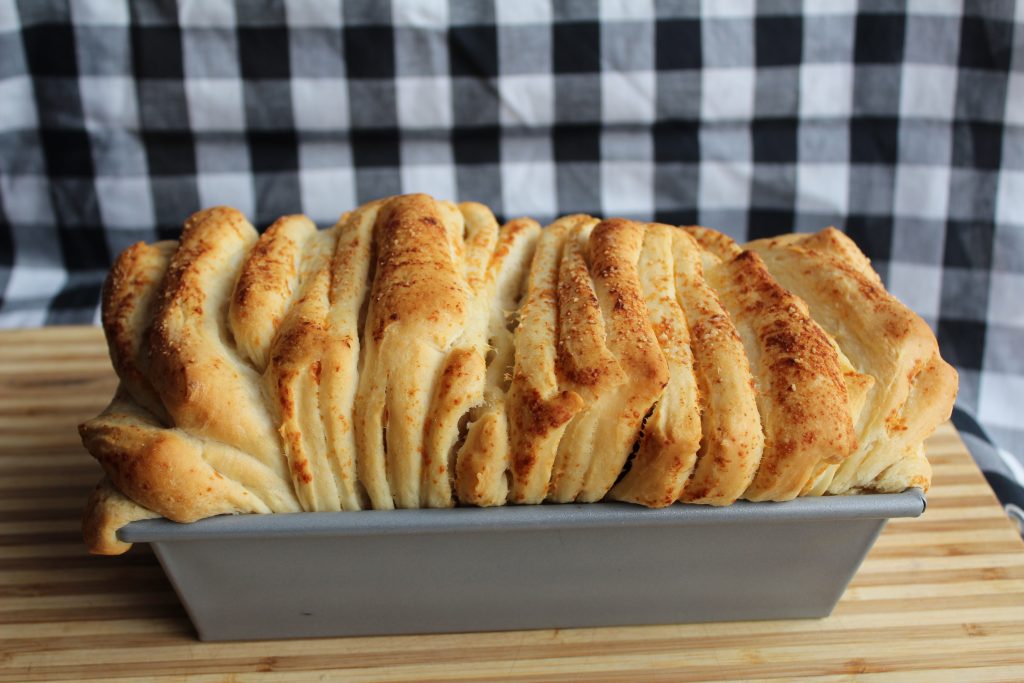
- Let cool 5 to 10 minutes before turning out of the pan and serving.
- Cheddar-Chive: Use 3 tablespoons butter, melted, to spread on the rolled-out dough. Sprinkle with about 1 cup shredded cheddar cheese and 2 tablespoons chopped chives. Slice, stack, and bake as above, but no need to add extra butter after baking.
- Cheddar-Jalapeno: Same as Cheddar-Chive, but substitute chopped jalapenos, fresh or pickled, for the chives.
- French Onion: Melt 1/2 cup butter and combine with half an envelope of dry french onion soup mix. Brush this onto the rolled-out dough, and continue as above. Add shredded Swiss cheese on top if desired. No need to add extra butter after baking.
Print
By Kim
The Archaeologist Bakes http://www.thearchaeologistbakes.com/