Monthly Archives: April 2017

Cherry Chocolate Chip No-Churn Ice Cream

Is it warm enough for ice cream where you live? It’s been warm off and on here, but the truth is we will eat ice cream all year long. 🙂

Do you remember the cherry curd I made? I mentioned at the time that you could swirl it into ice cream, and that’s exactly what I did with it! I have made a few no-churn ice creams over the years, and I have to say that I love them. I have an ice cream maker as well, and have made traditional ice cream too, but I really do love the simplicity and texture of the no-churn varieties.

It only takes a few ingredients for the base, and it is endlessly customizable. And there is no chill time, then churn time, then freezer time like traditional ice cream. You mix the ingredients together and stick it in the freezer for a few hours to harden. That’s it. Homemade ice cream in six hours or so. You really can’t beat that!

So the base starts with just a can of sweetened condensed milk and heavy cream. Whip the cream to firm peaks and fold it into the condensed milk. For vanilla ice cream, just add some vanilla extract or vanilla bean paste. Or go crazy with your add-ins. Choose any other extract that sounds good to you. Stir in nuts or chocolate pieces, or drizzle in fudge sauce or caramel. Or do like I did and fold in cherry, or any fruit, curd. You can stir in some cocoa powder to the sweetened condensed milk before adding the whipped cream. I made one that called for a melting peanut butter into the condensed milk before adding the whipped cream.

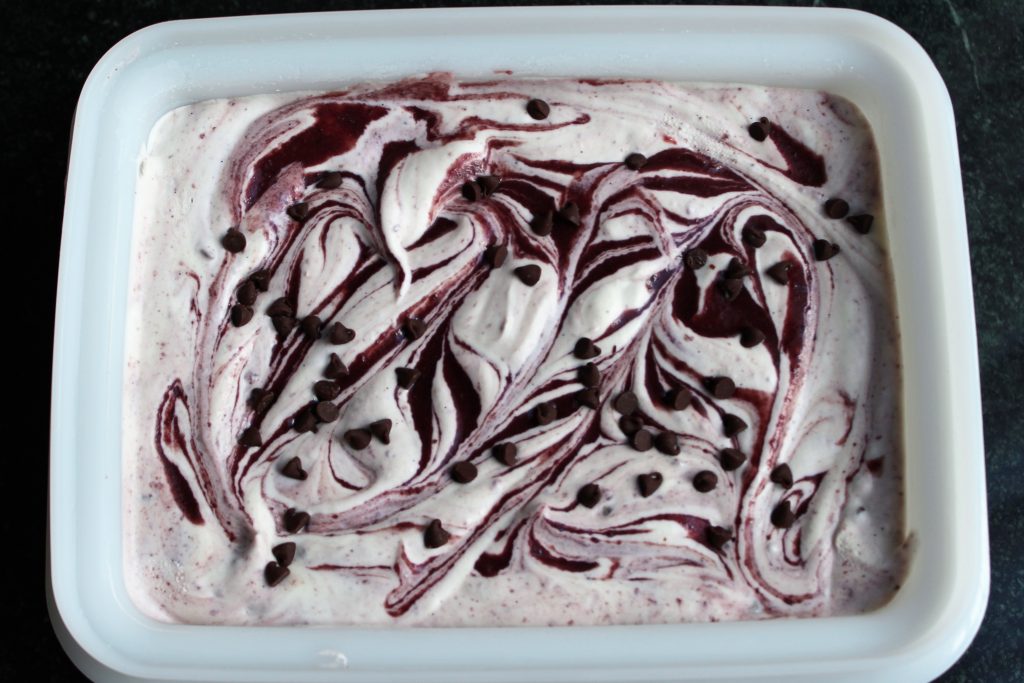
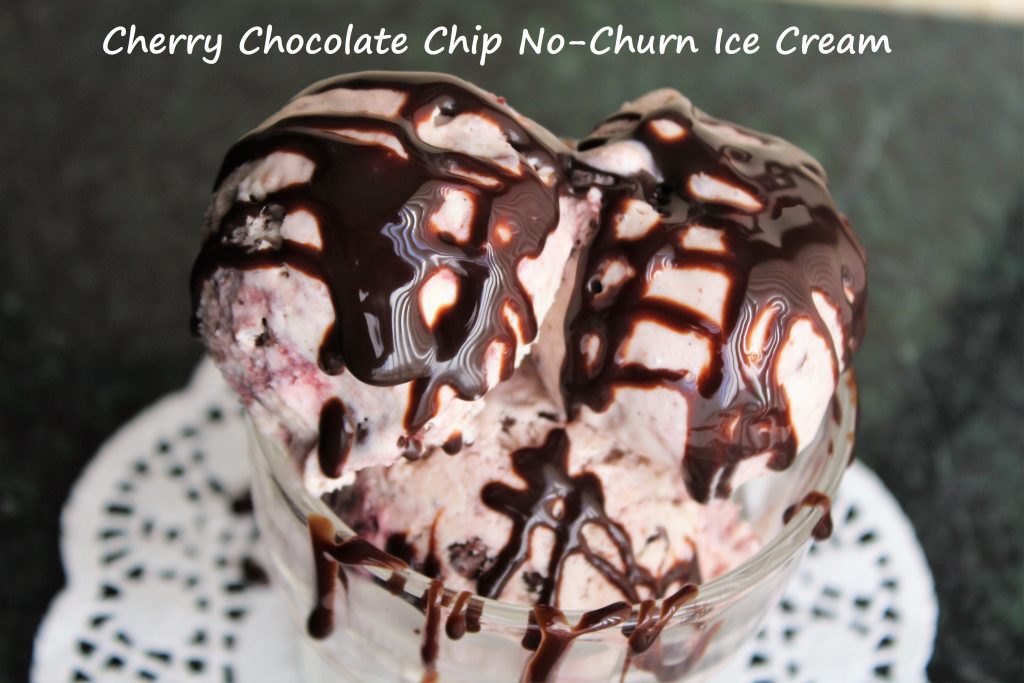
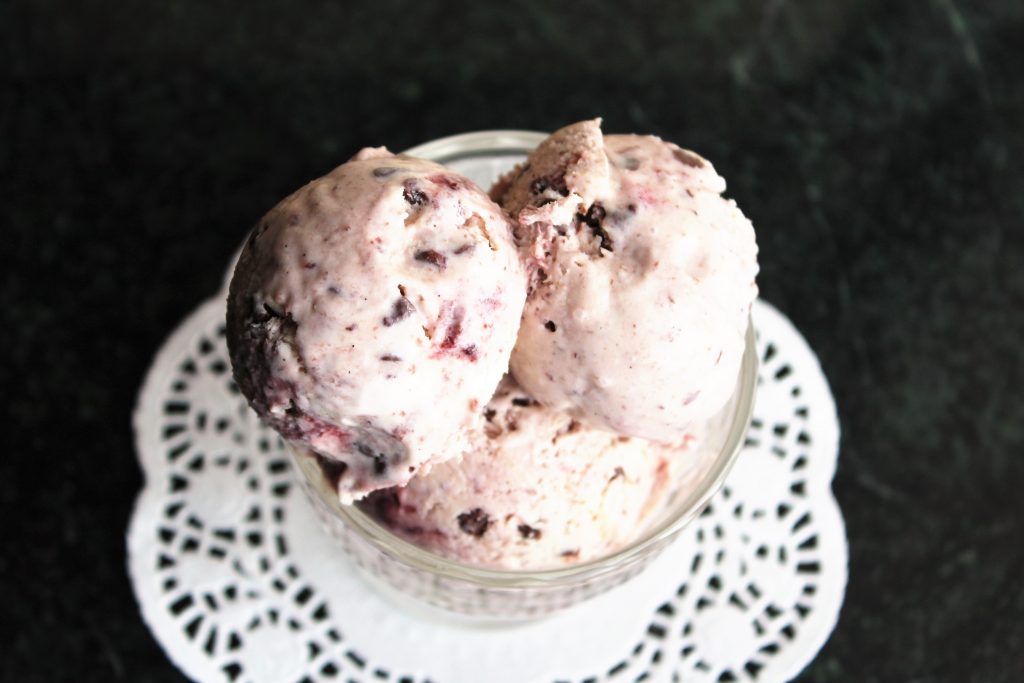
For this particular recipe, I folded about a cup of the cherry curd into the base along with about a half cup of mini chocolate chips. I prefer the mini chips in ice cream because they aren’t as hard to eat when frozen as a larger chip is. I stirred the curd almost completely into the base, but you can leave it as streaky as you’d like. Place the mix into a freezer-safe container, and add a drizzle of curd to the top. Cover tightly and freeze for four to six hours, or until the ice cream is hard.

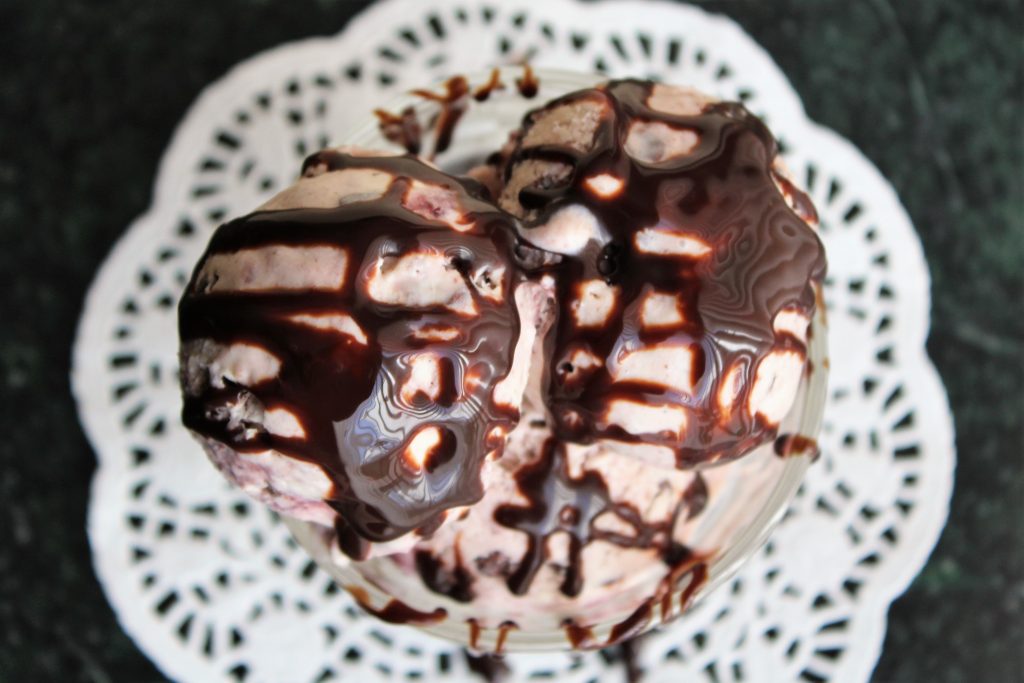
This no-churn ice cream is so smooth and creamy, I really do prefer it to regular ice cream any more. And it’s so easy to make, there really is no excuse not to try it! 


Print Recipe
Cherry Chocolate Chip No-Churn Ice Cream
Course Dessert
Servings
Course Dessert
Servings
Instructions
  1. Beat the heavy cream with an electric mixer until firm peaks form.
  2. Fold the whipped cream into the condensed milk until almost fully combined.
  3. Fold in the cherry curd and chocolate chips until well distributed or fully incorporated, depending on your preference.
  4. Place into a freezer-safe container and freeze for 4 to 6 hours, or until ice cream is firm.
Recipe Notes

Variations:

Add 2 teaspoons of vanilla or any other extract to the sweetened condensed milk before folding in the whipped cream.

Stir in any nuts or candies of your choice (about 1 to 1 1/2 cups total) after folding in whipped cream.

Melt 2/3 cup peanut butter and mix into the condensed milk before folding in the whipped cream.

Add 1/2 to 3/4 cup cocoa powder to the condensed milk before folding in the whipped cream.

Share this Recipe

White Chocolate Easter Bark Bunny House

I hope it’s not too late to share one more Easter idea with you!

I actually made this a few weeks ago, but I have been hitting a brick wall trying to write a post about it. And quite honestly, I was rushing to get it done so it’s not as neat as I would have liked. Plus every time I have been home and had time to work in the kitchen, it has been raining and cloudy. That doesn’t make for pretty pictures. So, I’ve been debating whether or not to share this with you. But I figured, why not? It turns out cute, even when it’s not perfect. The more time you take, the neater and more detailed you can make it. Or go quick and simple like this. It’s still a fun piece for your Easter table, and it tastes great!

This “recipe” is fairly simple and completely customizable. Chocolate bark, especially holiday-themed, seems to be very popular right now. But I wanted to do something more. So I made an Easter-themed chocolate bark, and turned it into a chocolate house! For the Peeps to live in, obviously. 🙂

You can find  templates for a chocolate house, or a gingerbread house, all over the internet. Pick one that you like. I started with about 16 ounces of vanilla almond bark, but you can use candy melts or white chocolate if you prefer. While it is melting,  spread out a few handfuls of pastel candy corn onto a parchment-lined baking sheet. Spread the melted chocolate over those  and then sprinkle it all with salted peanuts. Then jiggle the pan and tap it lightly on the counter to make sure the chocolate settles between the candy corn. Let this set just until it’s not runny (don’t put it in the refrigerator), and then cut out your ends and sides. You can heat your knife in hot water, and then dry it thoroughly, to help cut through the chocolate. Make sure to cut the doors and windows at this point as well. And don’t be afraid if it cracks or breaks. Just melt some additional white chocolate or almond bark and “glue” it back together.

For the roof, I just spread an additional 6 ounces of almond bark on another piece of parchment. Let it set just until it’s solid just like before, and cut out the roof pieces. Then it’s time for assembly and decoration. Use melted almond bark or white chocolate to stick the sides and ends together and glue it to a cake board or serving tray. Once those are set, add the roof. I used mini pastel mint snow caps to decorate the roof, attached with melted almond bark. I spread a thin layer of the melted almond bark on the cake board and sprinkled with coconut I had dyed green. I made a pathway with pastel jelly beans, and also used them to decorate the edge of the roof. I used a chocolate mold and some candy food coloring to make a pink and white flower to put over the door, but you could use anything you’d like. Finally, I added some Peeps in the yard, and called it a day.

This is a really fun and easy project kids can help with. And you can use whatever Easter candy you’ve got. Make it as simple or elaborate as you want. I really like the addition of the peanuts on the chocolate bark for the body of the house, because it helps to cut the sweetness. But you could use other nuts, or pretzels, or even crushed potato chips. And you don’t have to stop at Easter. This would be great with candies colored to match a birthday party theme, or any other holiday. It’s delicious and makes a great centerpiece for a dessert table. I hope you give this one a try!

Print Recipe
White Chocolate Easter Bark Bunny House
Servings
Ingredients
Servings
Ingredients
Instructions
  1. Find a chocolate house or gingerbread house template online, and print it out. For this recipe, approximately 6 inches long, 6 inches high, and 4 inches wide. A larger house with require more chocolate and candy, so adjust accordingly.
  2. Make a chocolate bark using 16 ounces of almond bark with candy corn and peanuts, or any desired combination. Place the candy on a parchment-lined baking tray and cover with melted chocolate. Sprinkle with the peanuts or other salty element. Let set just until firm, and cut into sides and ends for the house.
  3. Using 6 ounces of melted chocolate, spread into a thin layer on parchment. Let set just until firm and cut out roof portions.
  4. Melt the remaining chocolate, and scraps from the roof, and use to glue the pieces together and attach to a cake board or serving tray. Spread a thin layer on the board and cover with green-tinted coconut.
  5. Decorate with the remaining candy as desired, attaching with the melted chocolate.
Share this Recipe