Archives

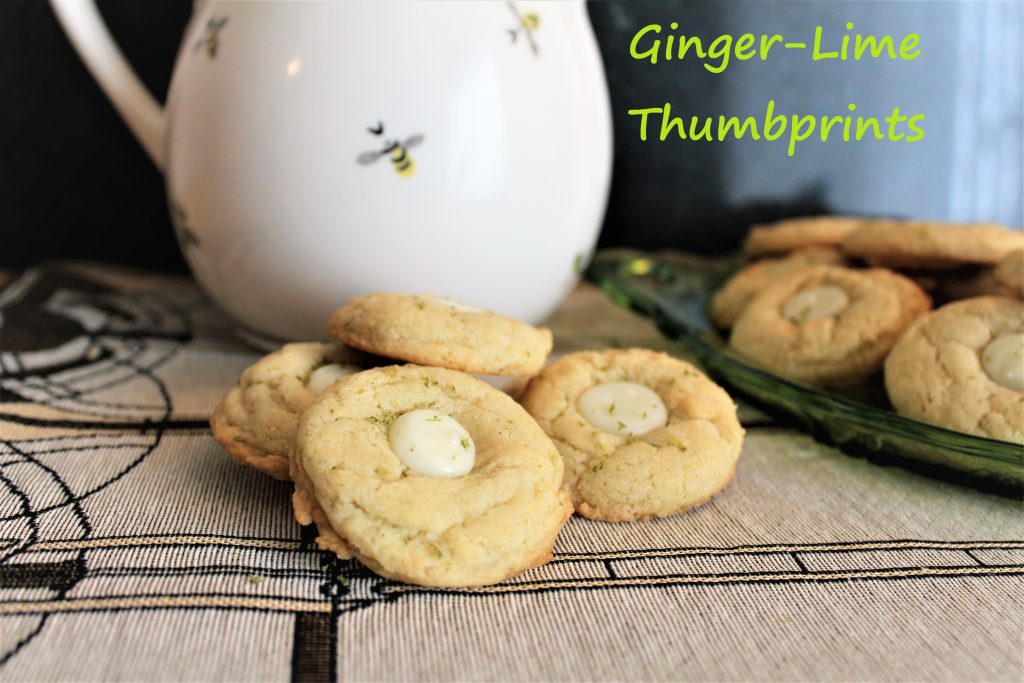
Ginger-Lime Thumbprint Cookies

The first time I made a cookie similar to this was while I was on a project and living in a hotel room. I was baking for the crew almost every weekend, but since I was in a hotel and cooking in a toaster oven with only a few tools, I tried to use shortcuts where I could. I was looking for ways to easily dress up a cookie mix when I stumbled upon a recipe for ginger-lime sugar cookies and decided that could work. I just mixed up the mix and added lime zest and fresh ginger. I stirred in some white chocolate chips and baked them up. Everyone went crazy for them!
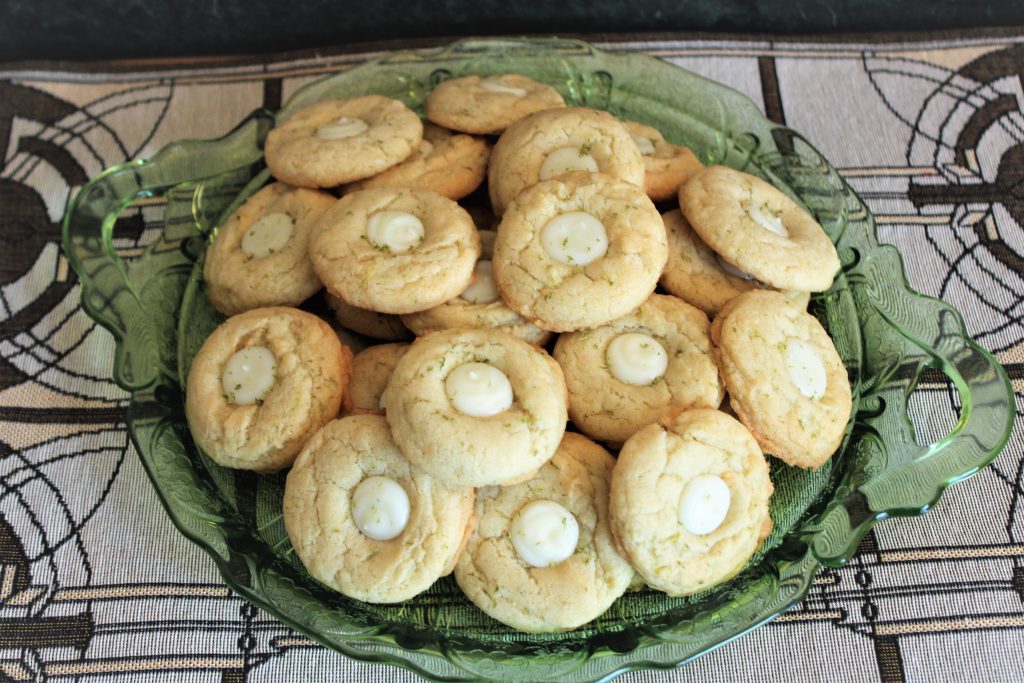
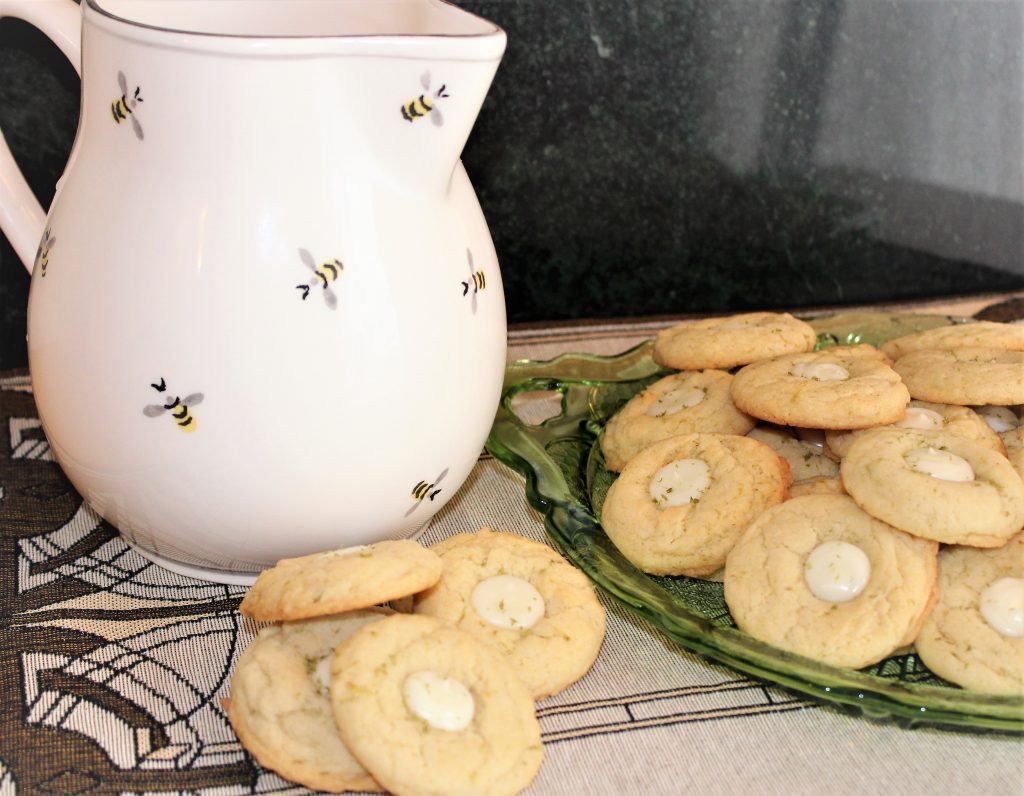
I fell in love with the ginger-lime combination at that point, and I have made similar cookies many times since. I wanted to dress them up a little for you, though, so I turned them into thumbprint cookies!  These are soft, chewy cookies that actually stay soft and chewy for up to a week. For the filling, I use vanilla almond bark because I prefer it over actual white chocolate. You can use whichever you prefer or have on hand. These have a tropical vibe to them, so I think a sprinkle of toasted coconut or toasted macadamia nuts would be perfect. You could either sprinkle some on top of the ganache before it sets, or go all out and roll the cookie dough in them before baking!
Print Recipe
Ginger-Lime Thumbprint Cookies
Servings
dozen
Ingredients
Servings
dozen
Ingredients
Instructions
  1. Melt butter.
  2. While still warm, add cubed cream cheese, sugar, and oil. Whisk until combined and cream cheese is mostly melted.
  3. Add lime, ginger, and egg and mix well.
  4. Stir in flour, baking soda, baking powder, and salt until a smooth dough is formed.
  5. Refrigerate dough for at least 30 minutes or up to several hours.
  6. Scoop dough, using a 1 1/2 tablespoon scoop, onto a parchment or silicone lined cookie sheet.
  7. Bake at 350 degrees F for 8 to 10 minutes, or until lightly golden brown around the edges.
  8. As soon as the cookies come out of the oven, press an indentation in the middle with a small (1/2 teaspoon) measuring spoon.
  9. Cool 5 minutes, then move to a cooling rack to cool completely.
  10. Once cookies are baked, make the ganache by combining almond bark with heavy cream in a microwave safe bowl.
  11. Microwave 30 seconds at a time, stirring after each. Continue until chocolate is completely melted and mixture is smooth.
  12. Spoon, or pipe with a piping or plastic bag, the ganache into the indents in the cookies. Let set until firm, about 1 hour.
  13. Sprinkle with additional lime zest if desired.
Recipe Notes
  • Sprinkle with toasted coconut or toasted, chopped macadamia nuts before the ganache sets.
  • Roll the cookie dough in coconut or chopped macadamia nuts before baking.
Share this Recipe

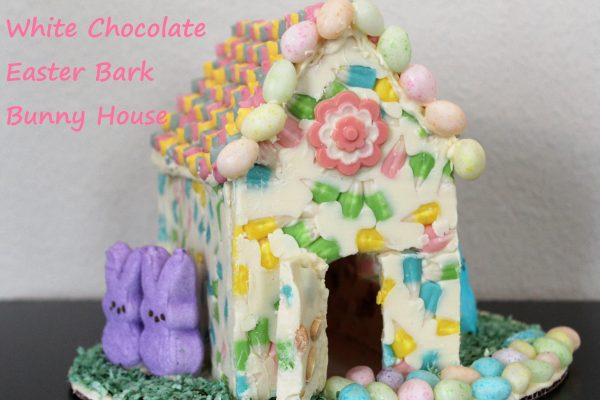
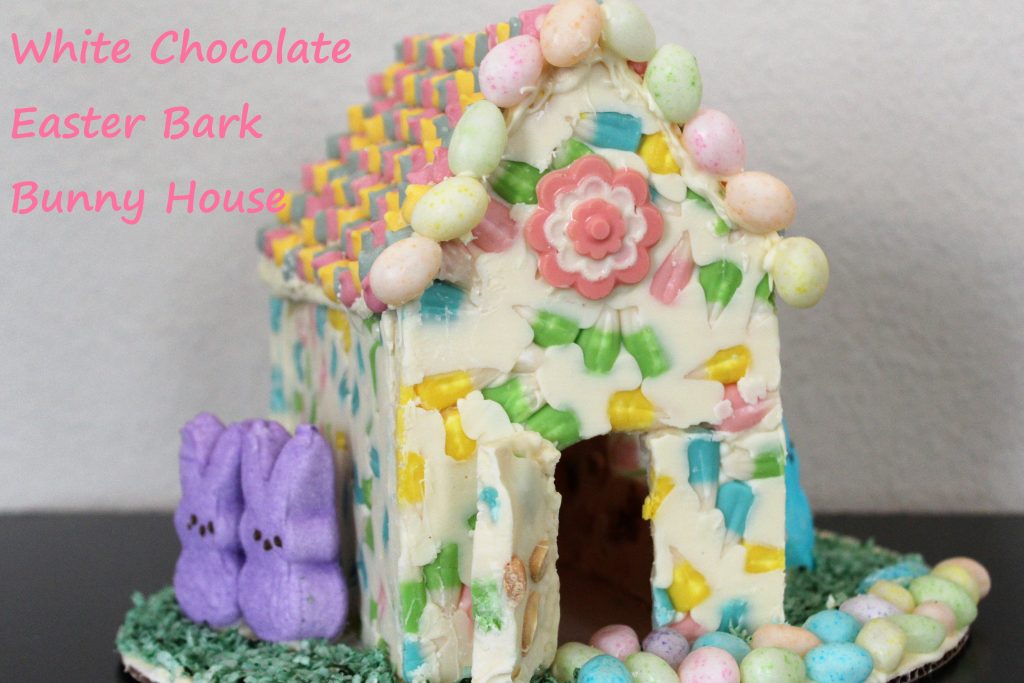
White Chocolate Easter Bark Bunny House

I hope it’s not too late to share one more Easter idea with you!

I actually made this a few weeks ago, but I have been hitting a brick wall trying to write a post about it. And quite honestly, I was rushing to get it done so it’s not as neat as I would have liked. Plus every time I have been home and had time to work in the kitchen, it has been raining and cloudy. That doesn’t make for pretty pictures. So, I’ve been debating whether or not to share this with you. But I figured, why not? It turns out cute, even when it’s not perfect. The more time you take, the neater and more detailed you can make it. Or go quick and simple like this. It’s still a fun piece for your Easter table, and it tastes great!

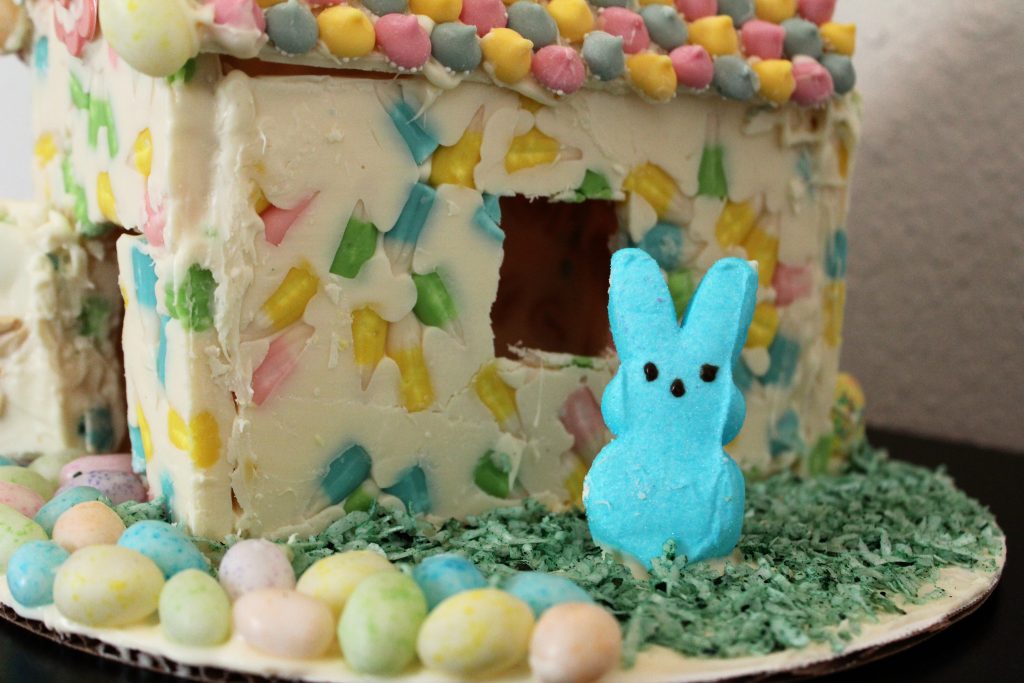
This “recipe” is fairly simple and completely customizable. Chocolate bark, especially holiday-themed, seems to be very popular right now. But I wanted to do something more. So I made an Easter-themed chocolate bark, and turned it into a chocolate house! For the Peeps to live in, obviously. 🙂

You can find  templates for a chocolate house, or a gingerbread house, all over the internet. Pick one that you like. I started with about 16 ounces of vanilla almond bark, but you can use candy melts or white chocolate if you prefer. While it is melting,  spread out a few handfuls of pastel candy corn onto a parchment-lined baking sheet. Spread the melted chocolate over those  and then sprinkle it all with salted peanuts. Then jiggle the pan and tap it lightly on the counter to make sure the chocolate settles between the candy corn. Let this set just until it’s not runny (don’t put it in the refrigerator), and then cut out your ends and sides. You can heat your knife in hot water, and then dry it thoroughly, to help cut through the chocolate. Make sure to cut the doors and windows at this point as well. And don’t be afraid if it cracks or breaks. Just melt some additional white chocolate or almond bark and “glue” it back together.

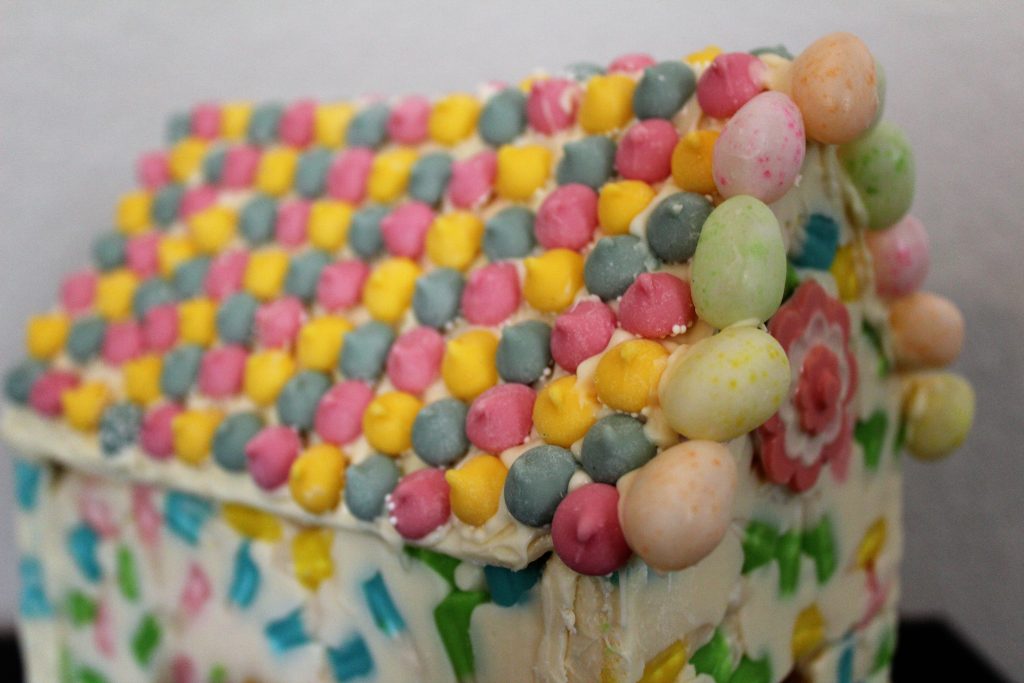
For the roof, I just spread an additional 6 ounces of almond bark on another piece of parchment. Let it set just until it’s solid just like before, and cut out the roof pieces. Then it’s time for assembly and decoration. Use melted almond bark or white chocolate to stick the sides and ends together and glue it to a cake board or serving tray. Once those are set, add the roof. I used mini pastel mint snow caps to decorate the roof, attached with melted almond bark. I spread a thin layer of the melted almond bark on the cake board and sprinkled with coconut I had dyed green. I made a pathway with pastel jelly beans, and also used them to decorate the edge of the roof. I used a chocolate mold and some candy food coloring to make a pink and white flower to put over the door, but you could use anything you’d like. Finally, I added some Peeps in the yard, and called it a day.

This is a really fun and easy project kids can help with. And you can use whatever Easter candy you’ve got. Make it as simple or elaborate as you want. I really like the addition of the peanuts on the chocolate bark for the body of the house, because it helps to cut the sweetness. But you could use other nuts, or pretzels, or even crushed potato chips. And you don’t have to stop at Easter. This would be great with candies colored to match a birthday party theme, or any other holiday. It’s delicious and makes a great centerpiece for a dessert table. I hope you give this one a try!

Print Recipe
White Chocolate Easter Bark Bunny House
Servings
Ingredients
Servings
Ingredients
Instructions
  1. Find a chocolate house or gingerbread house template online, and print it out. For this recipe, approximately 6 inches long, 6 inches high, and 4 inches wide. A larger house with require more chocolate and candy, so adjust accordingly.
  2. Make a chocolate bark using 16 ounces of almond bark with candy corn and peanuts, or any desired combination. Place the candy on a parchment-lined baking tray and cover with melted chocolate. Sprinkle with the peanuts or other salty element. Let set just until firm, and cut into sides and ends for the house.
  3. Using 6 ounces of melted chocolate, spread into a thin layer on parchment. Let set just until firm and cut out roof portions.
  4. Melt the remaining chocolate, and scraps from the roof, and use to glue the pieces together and attach to a cake board or serving tray. Spread a thin layer on the board and cover with green-tinted coconut.
  5. Decorate with the remaining candy as desired, attaching with the melted chocolate.
Share this Recipe

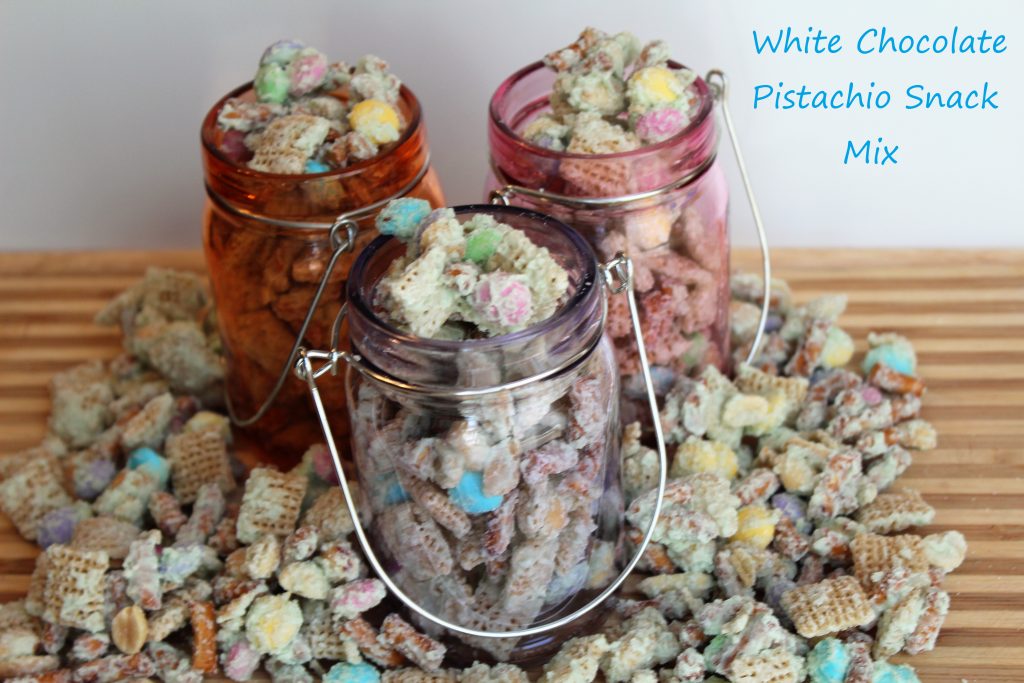
White Chocolate Pistachio Snack Mix

Hi Everyone! Is it spring where you are yet? After over a week of 70-degree weather and two severe storms here, we got almost an inch of snow this weekend! 🙁 Don’t get me wrong – I love the winter and snow, but now that we’ve had a taste of spring and field work is ramping up, I think I’m done with cold weather for a while. So, to bring a little bit of that spring feeling back into this weekend, I decided to start baking up some Easter-y treats.

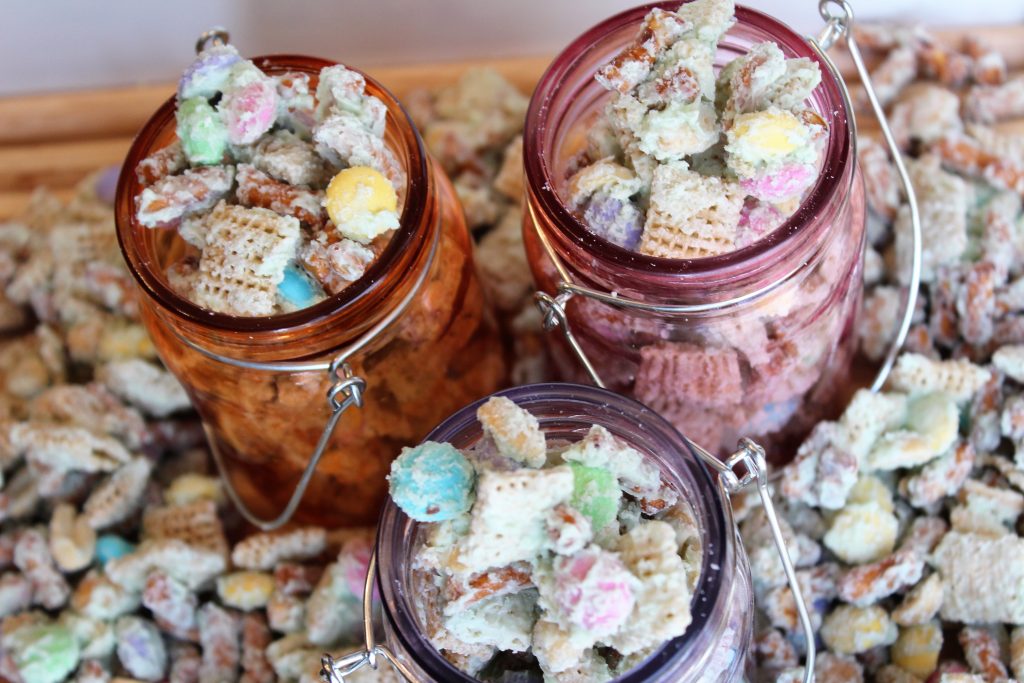
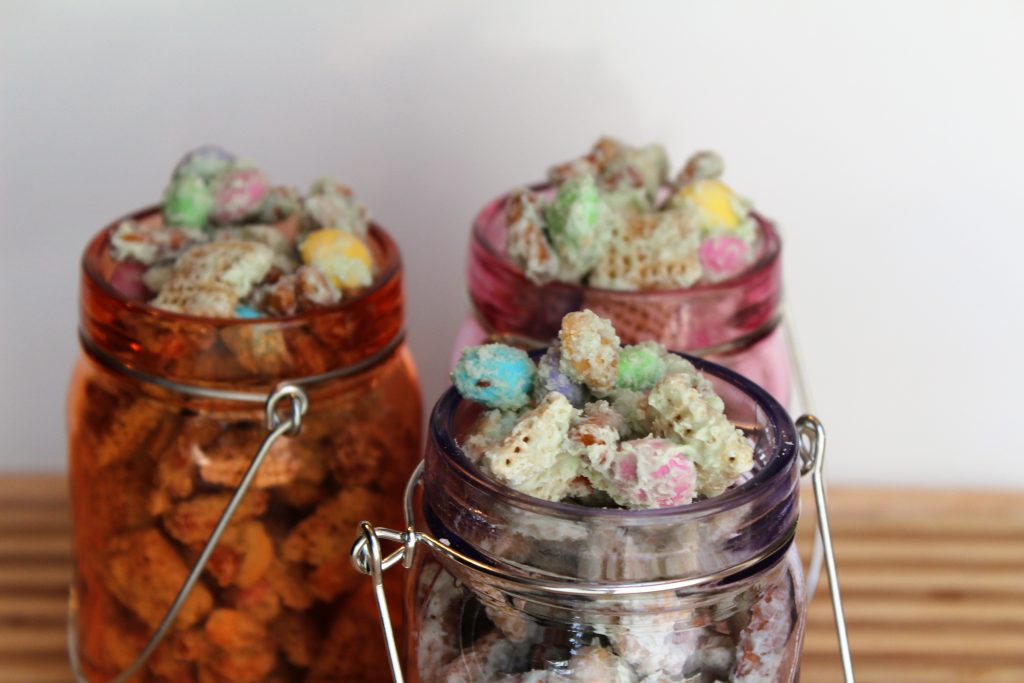
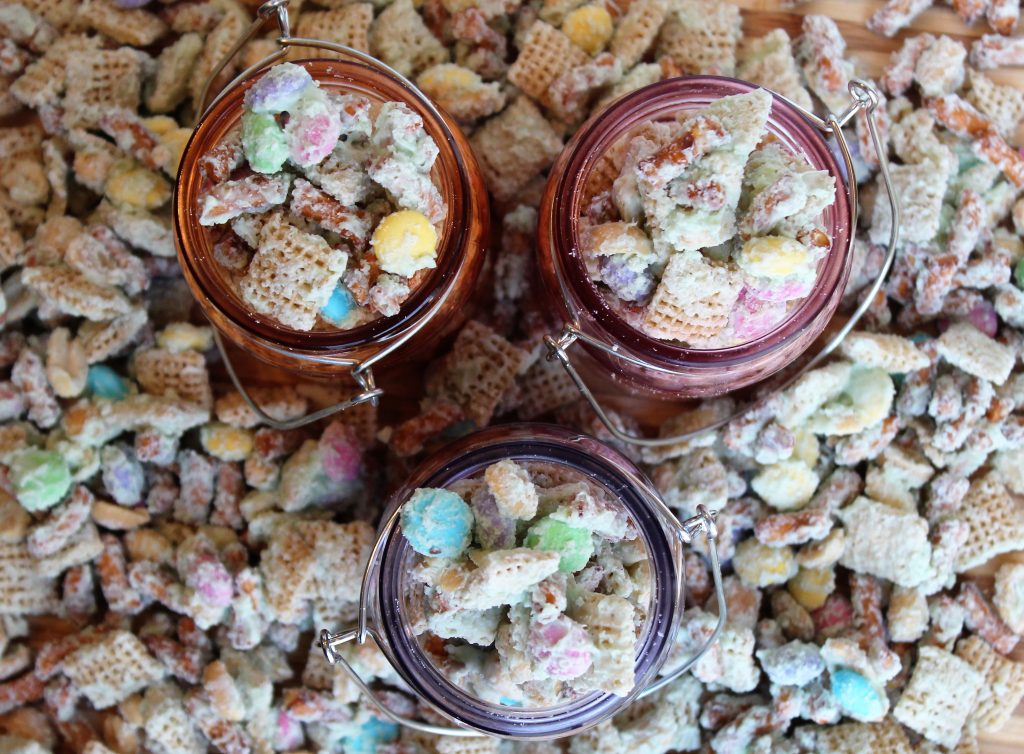
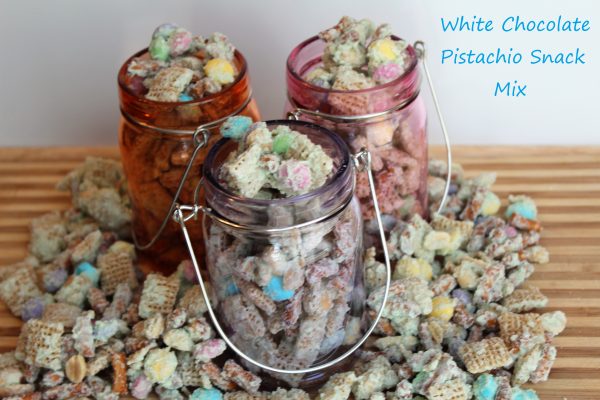
This first one is super simple, and doesn’t actually involve any baking. It’s a snack mix based on a treat my mom always makes at Christmas. Many of you have probably had something similar. It’s often called White Trash, or Texas Trash, or we call it White Stuff. It’s basically cereal, pretzels, nuts, and M&Ms mixed together with white chocolate.

I thought it could use a little color, and maybe a twist on the flavor, so I added a box of pistachio instant pudding mix into the melted chocolate. That added a little flavor, but not much color, so I did also add a few drops of green oil-based candy coloring. This is totally optional, but if you’d like to use it you can find the coloring at baking or hobby stores, or it’s easily found online. Don’t use liquid or gel coloring in your chocolate, as it contains water and will cause it to seize.

I also prefer using vanilla almond bark, since I don’t care for the flavor of white chocolate, but you can use whichever you prefer. I used rice Chex, but corn Chex or Crispix work well, and you could probably even try corn flakes. Use any salted nuts you like, even mixed nuts would be great. You can also throw in a handful of dried fruit – raisins, cherries, cranberries, whatever sounds good to you. And of course, you can leave out the pudding mix, or choose a different flavor. Cheesecake would probably be great, and lemon would be really interesting, too.  Essentially, this is a really basic recipe that can be customized in endless ways! I hope you give it a try!


Print Recipe
White Chocolate Pistachio Snack Mix
Instructions
  1. Melt chocolate in a double boiler or the microwave, being careful not to overheat. For the almond bark, I microwave in 30-second increments, stirring each time.
  2. Add the pudding mix into the chocolate and stir well. Add the green food coloring, if using.
  3. Combine the remaining ingredients in a very large bowl and mix,
  4. Pour the chocolate mixture over the cereal mixture, and stir gently until everything is coated with the chocolate.
  5. Spread onto waxed paper or parchment and let sit until chocolate is set. Store in an airtight container for up to two weeks.
Recipe Notes

Use any cereal, nuts, and candies you like. Add in 1/2 to 1 cup dried fruit if desired (raisins, cherries, cranberries, etc.).

Omit pudding mix, and food coloring, or use any other flavor like lemon or cheesecake.

Share this Recipe